
Ever had the weird urge of painting your toilet? Wanting to match the colour of your toilet with the interiors is a natural desire and is also practised by a lot of people.
Toilet art is also making rounds amongst masses where people draw a pair of googly eyes on their toilets to make them look funkier.
Painting toilet seats also becomes important when you have a toilet replacement because there’s a high chance that your new toilet isn’t compatible with the rest of your interiors.
Many people feel reluctant while painting their toilets because there’s a common myth that they cannot be painted.
You can definitely paint a toilet if you’re so inclined, as long as you use the correct process. First, make sure to get rid of all the dirt on your toilet and make sure there’s no water present.
Next, sand the surface and thoroughly apply a good primer.
This will make your toilet ready for painting and you can go ahead with upgrading your lavatory. If you want to play it safe and not experiment with many options, use acrylic latex primers and epoxy paint.
Curious to know more about how to paint your toilets? Keep reading to have all your queries solved:
What Types Of Paint Can Be Used?
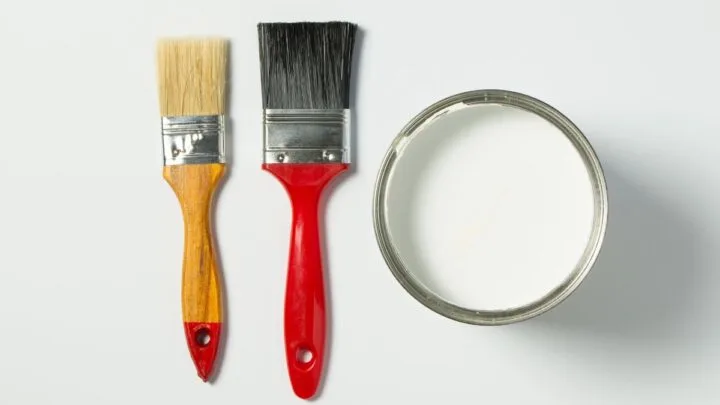
For painting toilets, there are a few different types of paints that can be used. You should ideally use an acrylic latex primer first, followed by epoxy paint for the top coat.
The main usage of epoxy paint is to repair or just recoat your toilet. They essentially only come in hues of white, grey, and black.
Once the primer has smoothened all the bumps and dents on the surface, you can go on to apply the main coat, preferably epoxy paint.
You won’t find many colours in epoxy paints because they mostly are only found in a neutral palette.
They’re only meant to add an additional coat to your toilet or improve the finishing, hence you won’t find any colours except for different shades from the black and white family.
If you don’t like the colour limitations of epoxy paints, you can always use spray paints as an alternative. They come in a wide range of colours and are also easy to use for beginners.
However, if you choose to use spray paints, you’d have to seal the paint by adding a clear epoxy topcoat. This prevents the colour from wearing off and also adds a water-resisting quality to your toilet.
Epoxy paints, on the other hand, are enough as is and don’t require you to add any additional coats.
Once you’ve decided on which paint you want to move forward with, you need to make sure that your workspace is well-ventilated.
This prevents any negative effects caused by the paint emissions and also allows your paint to dry faster.
While it’s best to work in an outdoor space, you can use windows and exhaust fans indoors to make sure that the air remains non-toxic.
Keep all of your inlets open and if you have portable fans, install them temporarily in your workspace.
Further, no matter which paints you choose, you must make sure that the space where you are painting is sufficiently ventilated, especially when using spray paint.
Don’t forget to use a facemask and appropriate gear because you wouldn’t want to inhale all the fumes!
What Supplies Are Required To Paint A Toilet?
Since painting a toilet requires you to fully drain it, make sure that it’s not the only toilet you’re relying on because you won’t be able to use it for at least a couple of hours.
You’d also need to have a list of things ready to quicken up the process:
- Face protective gear, for e.g, a face mask and airtight glasses
- 120 – 160 grit sandpaper
- Primer of your choice
- Your preferred shade of paint
- Painter’s tape
- Rag to clean up any mess
- Newspapers for lining the floor
- Clear topcoat
Before you start painting your toilet, it is important that you do all your homework. Here are all the things you need to know:
How To Paint Your Toilet? Step-By-Step Guide
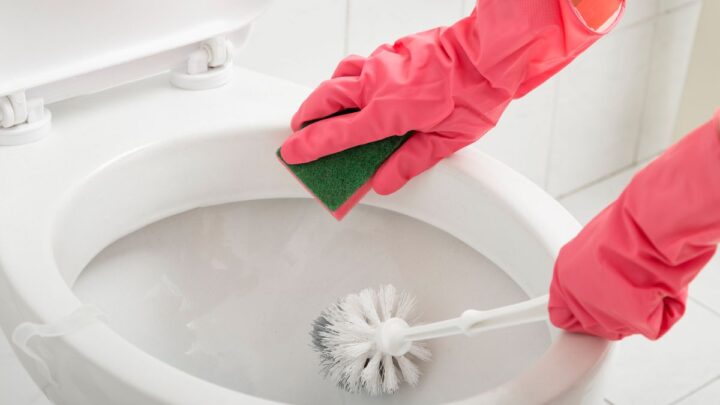
1. Scrub Your Toilet
Clean your toilet thoroughly because you need a smooth surface for the paint to stick properly.
If your toilet has dirt residues and dust particles, your paint will start chipping off after a while.
You don’t need any specific gear for carrying out this task though, just use your regular cleaning materials and scrub both the insides and outsides thoroughly.
Remember to not drain your toilet before this process because you’d have to do that here so that all the soapy residue is flushed away.
To ensure that all the dirt is taken care of, make sure you remove your toilet seat.
Most toilet seats are easily detachable by unscrewing the bolts but if you have a complex mechanism in your toilet, you’d have to resort to pliers or screwdrivers.
Removing the seat will display all the hidden dirt and grim so make sure you give it a good scrub. You can also get a new toilet seat if yours is beyond the salvageable state.
2. Drain
No matter what surface you are applying the paint on, if you want a smooth finish, you need to make sure that it’s completely dry before the process.
You can drain the toilet water by simply turning off the water. All you need to do is tinker with the valve that connects the plumbings to your toilet tank.
This will stop the water supply to your tank and you can get rid of the standing water by flushing the toilet one last time. You’d still have a bit of wetness though but you can easily get rid of it through towels.
You can also opt for raising the tank float to stop water from collecting in your toilet.
Remove the lid of the toilet tank and spot the balloon-like object on one side. You’ll have to prop this object up somewhere because if it drops, your toilet tank will automatically start refilling.
3. Roughen The Surface
Use sandpaper all over the toilet surface to get the required roughness; this can prove to be a tedious task but the end result will be worth it.
This step helps paint stick to the surface better which increases its durability.
Once you’re done, make sure you blow away all the particles so that they don’t get in the way when you’re painting.
4. Primer
Make sure the surface is absolutely dry and open up the primer bucket. Remember to take care of ventilation because this process can have you feeling suffocated in case of poor ventilation.
Cover all the surfaces around the toilet with newspapers and painter’s tape so that even if you end up spilling your primer, it doesn’t cause any damage. Grab a brush and cover every inch of your toilet with a good primer.
5. Start Painting
Whether you’re using epoxy paints or spray paints; make sure your protective gear is in check.
Once the primer has completely dried, it’s time for you to get into painting the toilet.
You’d have to trust your sensibilities in terms of how many coats are needed, if the finish appears to be good enough, there’s no need for multiple coats but if you detect bumps, an additional coat could be useful.
For spray paints, once again make sure to put on a face mask and eye protection. Most likely, you’ll need to apply many coats.
Seal the project with a clear topcoat and wait for it to dry.

6. Refill With Water
For the paint to fully dry and thoroughly set in, you must wait around 6 hours. After that, you may safely turn on the water again and refill the toilet bowl.
Turn on the valve and refill your toilet tank. Once it is full, flush once so that any residues are disposed of; once you’re done, your toilet will be fit to use, good as new!
How To Paint A Stained Toilet?
The toilet bowl getting stained is a typical issue that people encounter with toilets. There are several cleaning solutions on the market right now that claim to remove stains from toilet bowls.
However, you may repaint your toilet bowl to make it seem bright and fresh if you’ve tried everything and it’s still soiled.
The procedure for painting a stained toilet bowl is the same as for painting the entire toilet; you simply need to use less paint. Now, let us go through them:

1. Clean Your Toilet
As discussed earlier, you should thoroughly clean your toilet before you begin. However, if you’re only painting the bowl, all that has to be cleaned is the rim and the bowl itself.
Ensure that the area around your toilet’s rim, where water trickles in, is clean. Get as far up as you can with a cloth or paper towel. Once you’re done, flush it.
2. Drain the Water
It’s essential to ensure your bowl is thoroughly emptied because you’ll be painting it. Either turn off your water valve or elevate the float in your tank.
After your water has been turned off, flush your toilet and remove the remaining water. Make sure you drain out all the water.
3. Sand Your Toilet Bowl
This step is identical to the one that is mentioned earlier. Sand your bowl’s interior until it is rough. After cleaning off all the porcelain dust, allow your toilet to air dry.
4. Apply Primer
After your toilet is entirely dry, prime the interior of the bowl with acrylic latex. The paint will adhere to the porcelain as a result.
5. Paint Your Toilet
The bowl should be painted only after the priming has dried fully. You should use epoxy paint if you’re covering a stain or fixing the interior of your toilet.
Another name for it is epoxy appliance paint. Generally, the standard white paint color is a reliable pick for many as most toilets are the same shade of white.
Both liquid and spray versions of epoxy appliance paint are available. Pick the method you prefer to employ. Apply it to your toilet bowl as you normally would, bearing in mind that you might want to coat it twice.
Since this paint is epoxy-based, an epoxy finish is not necessary.
Be cautious while painting the rim of your bowl when painting the interior. Water can seep down from the tank through tiny pores under the rim.
These holes may be filled up and stopped from letting water flow if they were painted over.
If you decide to cover some of these holes with paint, you may use a knife to scrape the paint off or a needle or screwdriver to pierce the paint, depending on how big the gap is.
6. Refill Your Toilet
Lastly, before you refill your toilet, make sure it is fully dry. Your epoxy paint container will specify how long it has to dry before it can be filled again.
To ensure thorough drying, it takes around two hours for spray paint and more likely close to four hours for liquid paint. After that, you may fill your tank and enjoy your toilet’s brand-new appearanc
Final Words On Painting Your Toilet
Painting toilets may sometimes be a necessity but in most cases, it turns out to be a fun project.
The results always blow your mind again and have you consider a revamping in another one of your toilets.
If you’ve also been considering toilet painting a no-go area, it’s time for you to debunk the myths and get painting them on your own!
