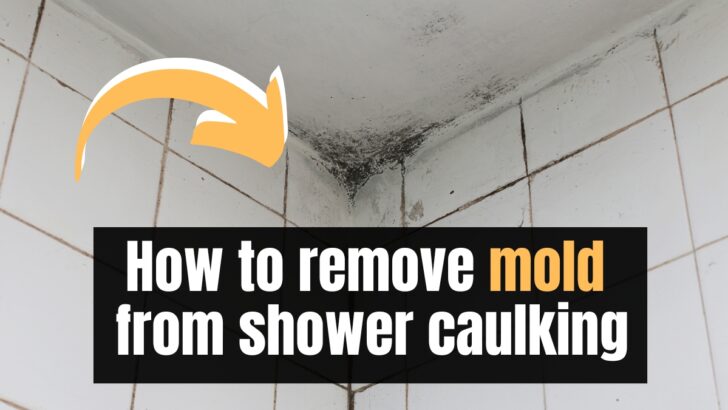
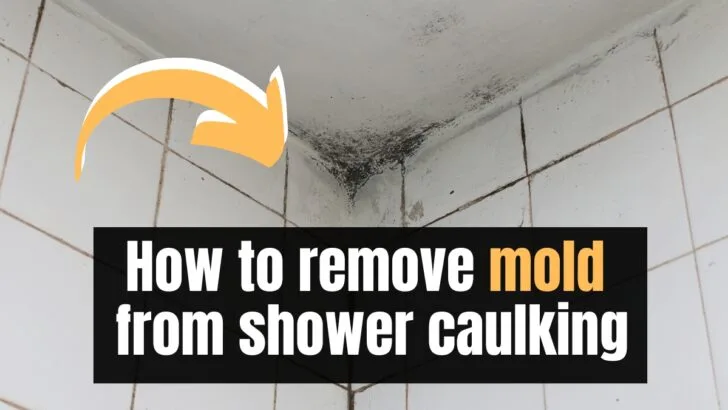
Over time, you will likely see mold starting to develop around parts of your bathroom, but how do you remove it from shower caulking?
You can remove mold from shower caulking by using white vinegar, chlorine bleach, baking soda, or hydrogen peroxide. Choose a cleaning solution, pour it into a spray bottle, apply it to the mold, and let it sit for 20 to 30 minutes before lightly brushing the molded caulk and rinsing the area.
Read on to take a closer look at the cleaning solutions you can use for shower caulking so that you can remove mold safely and easily.
How to Remove Mold From Shower Caulking
Spotting mold inside your bathroom can be an unsettling sight. It’s been proven that mold can cause a variety of respiratory complications that can potentially result in asthma, as well as other health issues.
One of the most common areas to find household mold is in bathrooms, specifically on shower caulking. Due to the amount of moisture that gets trapped in a closed bathroom space, mold tends to grow here quite quickly, especially if there is limited ventilation.
Luckily, the mold around shower caulking is fairly simple to remove, and you can get rid of it using basic household cleaning products. Consider one of the following methods to remove mold from shower caulking.
1. White Vinegar
Vinegar is one of the safest and most reliable ways to remove mold. This is a non-toxic solution that does not require specialized safety equipment. To use vinegar to get rid of mold, follow these steps:
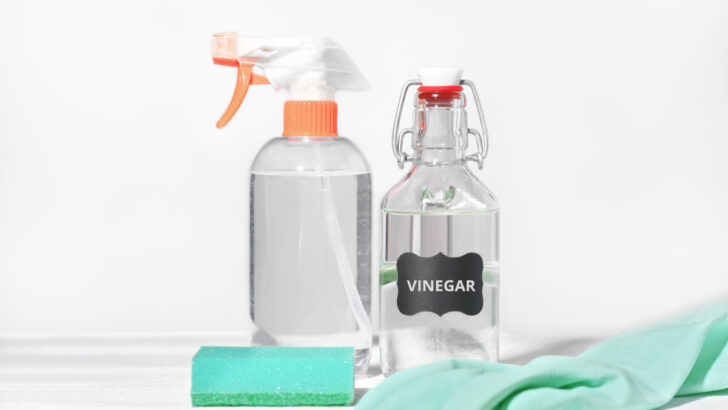

- Pour vinegar into a spray bottle
- Spray vinegar on the mold
- Let the vinegar rest for 20 to 30 minutes on the affected area
- Use a brush to lightly scrub the caulking
- Use a rag or sponge with soapy water to wipe away the remaining mold
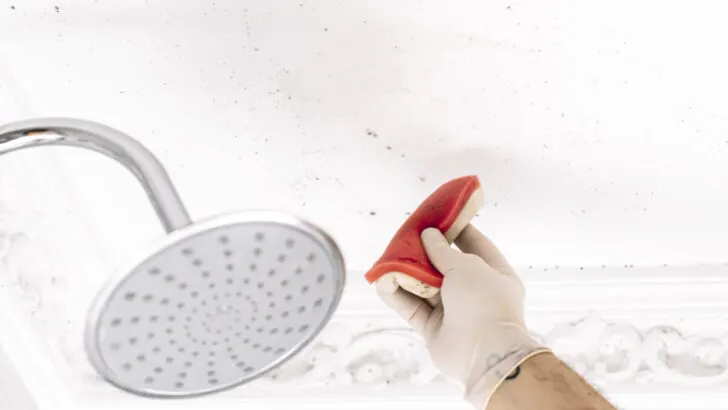
2. Chlorine Bleach
One of the most effective ways to remove mold from shower caulking is to use chlorine bleach. With that said, because this is a toxic cleaning solution that can have damaging effects on your health, it’s best to only use bleach if you absolutely have to.
If you’ve already tried a natural product or cleaning solution, bleach is always a safe bet when it comes to removing mold. Before you start spraying chlorine bleach all over your bathroom, remember to dilute the bleach with water first.
The ideal ratio for bleach is 1:10 (1 part bleach & 10 parts water). This is more than enough bleach for standard household cleaning and it should remove the mold on your shower caulking quite easily. If you use bleach, follow these steps:
- Pour chlorine bleach solution into a spray bottle
- Put on protective latex gloves
- Spray the vinegar onto the mold
- Let the bleach sit on the mold for 20 to 30 minutes
- Use a brush to lightly scrub the mold
- Use a rag with warm water to remove any remaining mold
3. Baking Soda
Few household items are more useful for cleaning around the house than baking soda. This is an all-in-one cleaning solution for so many tasks, and it should work perfectly for removing mold from shower caulking.
Before you can clean the mold, you first need to create a baking soda solution to apply to the affected area. Simply add one-quarter of a tablespoon of baking soda into a spray bottle and shake up the mixture. You can then spray the baking soda solution onto the molded area.
4. Hydrogen Peroxide
Most people keep a bottle of hydrogen peroxide underneath their kitchen sinks for odd cleaning jobs, and it works wonders at removing mold from shower caulking.
If you have hydrogen peroxide available, all you need to do is pour it inside a spray bottle and apply it to the molded caulking. Much like with the other cleaning solutions, let the hydrogen peroxide sit for about 20 to 30 minutes before you start brushing the mold off.
What Should You Do When Mold Won’t Remove from Shower Caulking?
Shower caulking is generally quite easy to clean, and most homeowners can remove mold successfully by following one of the above-mentioned methods. However, if the shower caulking has an excessive amount of mold, especially if it’s old, the mold may be difficult to remove.
What often happens in this situation is that the majority of the mold gets removed but it leaves behind stains. This does not add a nice aesthetic to your bathroom, and unfortunately, removing it fully may be more trouble than it’s worth.
If the mold does not fully come off from the shower caulking, remove the sealant and replace it with fresh caulking. In general, you should be removing and replacing the caulking in your shower every five years.
If the caulking in your shower is older than that, you may want to consider adding some fresh sealant, as this will make your bathroom look much more presentable.
How to Prevent Mold from Developing on Shower Caulking
The best way to deal with mold is to prevent it from ever developing in the first place. Bathrooms tend to be the most common places where mold grows, so here are a few tips to help prevent mold buildup:

- Ensure your bathroom has proper ventilation
- Use a dehumidifier to keep humidity levels stable
- Dry shower areas after use
- Dry wet towels outside of the bathroom
- Clean your bathroom once per week
Key Takeaways to Removing Mold From Shower Caulking
You can remove mold from shower caulking by using white vinegar, chlorine bleach, baking soda, or hydrogen peroxide.
Choose a cleaning solution, pour it into a spray bottle, apply it to the mold, let it sit for 20 to 30 minutes, lightly brush the molded caulk, and rinse the area once finished.
You can prevent mold from developing on shower caulking by ensuring ventilation, using a dehumidifier, drying the shower after use, drying towels outside the bathroom, and cleaning your bathroom once per week.
