
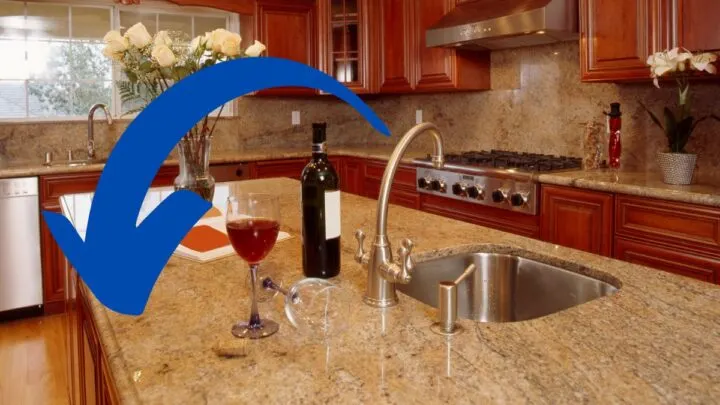
Large-scale kitchen renovations can be disruptive and stressful. Also, the cost of upgrading your kitchen countertops could be high.
In such a case, you may be thinking if you can paint your countertops to give them a new and fresh look?
You can paint and prime laminate countertops without causing them any harm. Priming them is a great idea to make sure the paint stays and looks great for years to come. As long as you do it correctly, painting laminate countertops can give them a whole new look.
The most acceptable paints you can use for this project can be obtained from your neighborhood paint store.
However, experts frequently suggest water-based acrylic paint, primer, and top-coat for countertops.
But before you start to paint your countertops, there are some simple steps like proper sealing and careful preparation to make the result long-lasting. Therefore, here is the strategy for your counterattack.
What Materials Are Needed To Paint Laminate Countertops?
Since you have decided to paint your laminate countertops, there are a few things you should get beforehand. These are:
- Sandpaper of grit 220
- 9-inch paint brush
- Painter’s tape
- Cover for a 9-inch foam roller
- Nitrile or latex gloves
- Glossy surface primer
- Acrylic topcoat paint in high gloss
- Water based acrylic paints to paint the countertops
- Mineral spirits to clean surface
- Rotating sander
Select Your Materials Thoroughly
Make sure the paint and primer are thoroughly blended. You can do this at home or have the paint supplier do it.
While water-based acrylic paint is easy to clean with water and has a mild odor, acrylic paint dries more quickly to provide the hard surface required for high-use areas like countertops.
Either way, you should ensure that your kitchen has adequate ventilation while you paint. Opening a screen window or turning on a fan is suggested to eliminate those fumes.
Furthermore, consider having more roller covers than you think you need.
You can simply buy more than you need and then return the unused ones to the store later. This will save you from unnecessary store visits.
So, when you are done with all the nitty-gritty supplies, let’s upgrade it.
How To Paint Laminate Countertops
When you have all the materials needed for giving your countertops a new look, it’s time to bring out your inner artist.
For this, you need to follow the strategy below:
- Sand The Surface
Before starting the project, you should sand your countertops. Sand the backsplash and countertop to remove any rough edges using a fine-grit of 200-220 sandpaper.
This project will go much more quickly with an electric sander. You can also use a sanding block to smooth out the counter’s edges.
After the entire area has been sanded, wipe the dust away with a lint-free cotton ball and some mineral spirits.
Afterward, let the mineral spirits dry and check the surface with your hands to see if it is smooth and clean.
Make sure no dust is left, as when the counter is painted over, dust on it will feel rough to the touch.
- Do Some Prep
Now you are done with sanding the countertop, it’s time to wrap up the remainder that won’t be painted or primed.
Tape the sink and the walls with painter’s tape. Double check if your tape is completely affixed to the surface to prevent paint from leaking.
Similarly, you can also cover your floors, walls, and cabinets with newsprint or plastic to protect them.
- Time To Lock In The Primer
Maintaining a “wet edge” when applying paint is crucial while upgrading your countertops. Avoid halting this DIY in the middle to let the freshly painted or primed area dry.
Also, your roller strokes should be spaced about an inch apart from one another.
Apply a uniform coat of primer by rolling a full circle from front to back over the entire surface.
Be prepared to use a trim brush to protect the surface as your wet paint edge comes into contact with it as you encounter the area near the sink or the small backsplash surface.
Now span the complete area with primer when you move from one corner of the countertop to the other.
Afterward, give your primer at least six hours to dry.
- Apply Paint
Use the same method as before to apply the paint. Keep a wet edge as you transition from one side of your counter to the other.
Avoid letting the painted edge dry before applying the next layer of paint, and leave about an inch of space between each paint roll. After allowing the paint to dry out for at least 4 hours, use the same method to apply a second coat.
- Put On The Top Coat
At last, you have to apply a high-gloss top coat which will give the counter some protection and shine after the last coat of paint dries.
Use a countertop-specific water-based acrylic top coat.
Using the same method, roll on top of the coat while maintaining a wet edge.
Apply a second coat after the first one has dried for at least four hours and cover the entire surface.
To create a gorgeous and secure countertop surface, two coats of top coat would be adequate.
After the last top coat has been applied, give your countertops 24 hours before using them.
Also, before deciding to put heavy weights on them, it’s better to know that a water-based acrylic top coat typically takes 14 days to cure fully. During this time, be careful when using your countertops.

Final Words on Painting Laminate Countertops
Painting the laminated countertops is a fantastic way to give your old-fashioned kitchen counters a new look.
With the abovementioned strategy, you can easily paint the countertops without sweating or tearing up your budget.
Also, the painted surface will not be as rigid, or as water- and scratch-resistant as the laminated ones, so be careful to clean up spills immediately and try to avoid scratching the countertop as much as possible.
