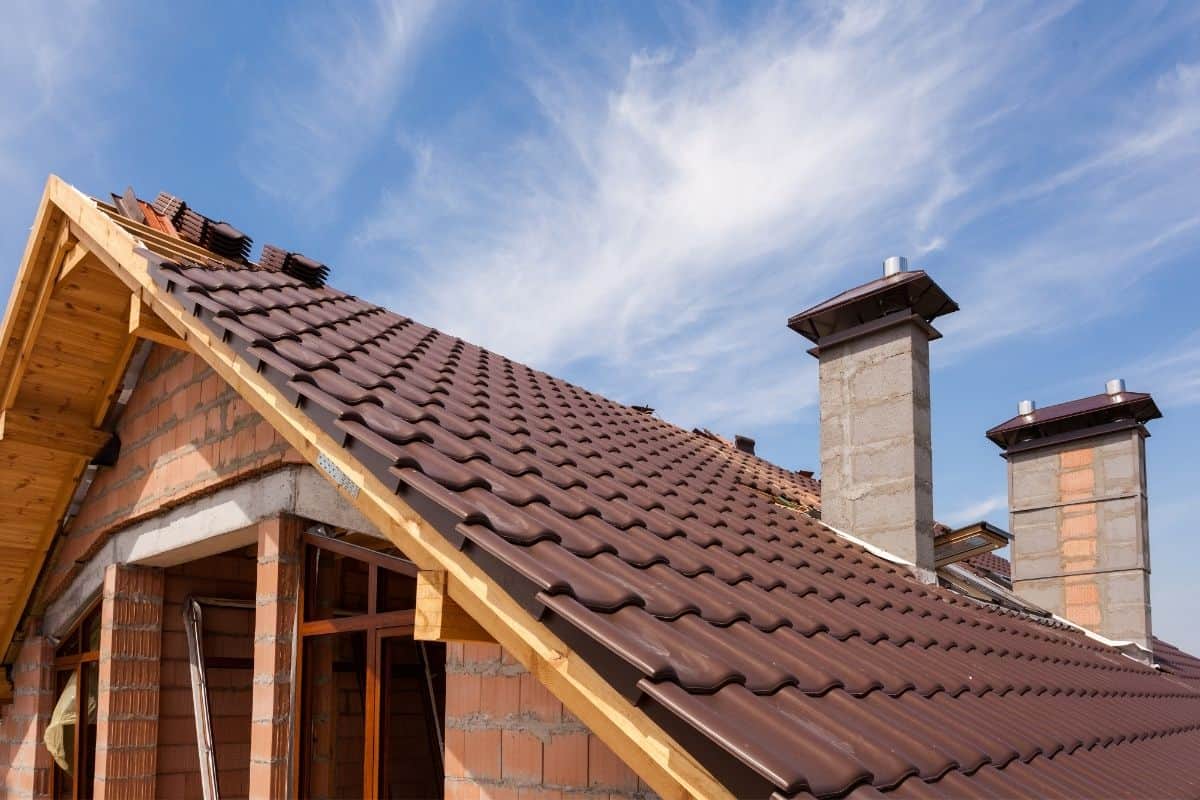

Most houses have a chimney, but do you know if you have a chimney cap? You might not realize if you do or not, and that could be causing issues for your chimney. Not everyone knows what this is or what it can do for your home.
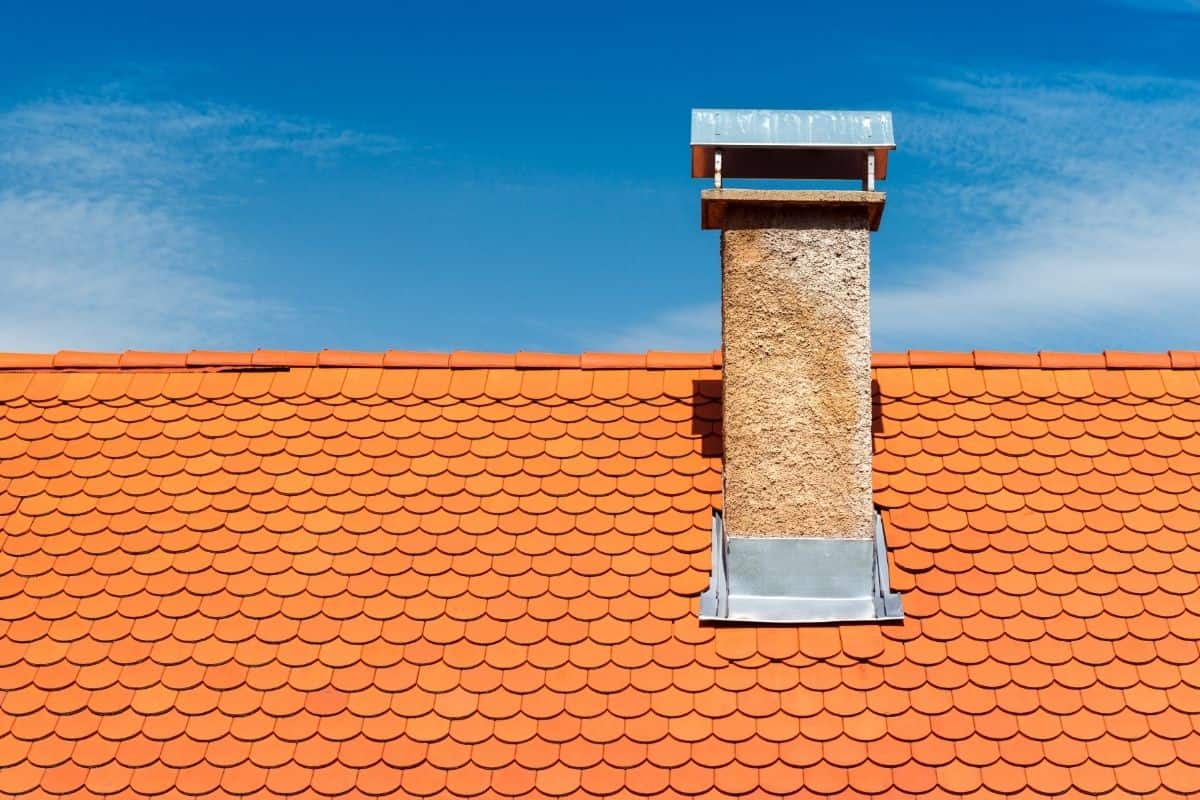
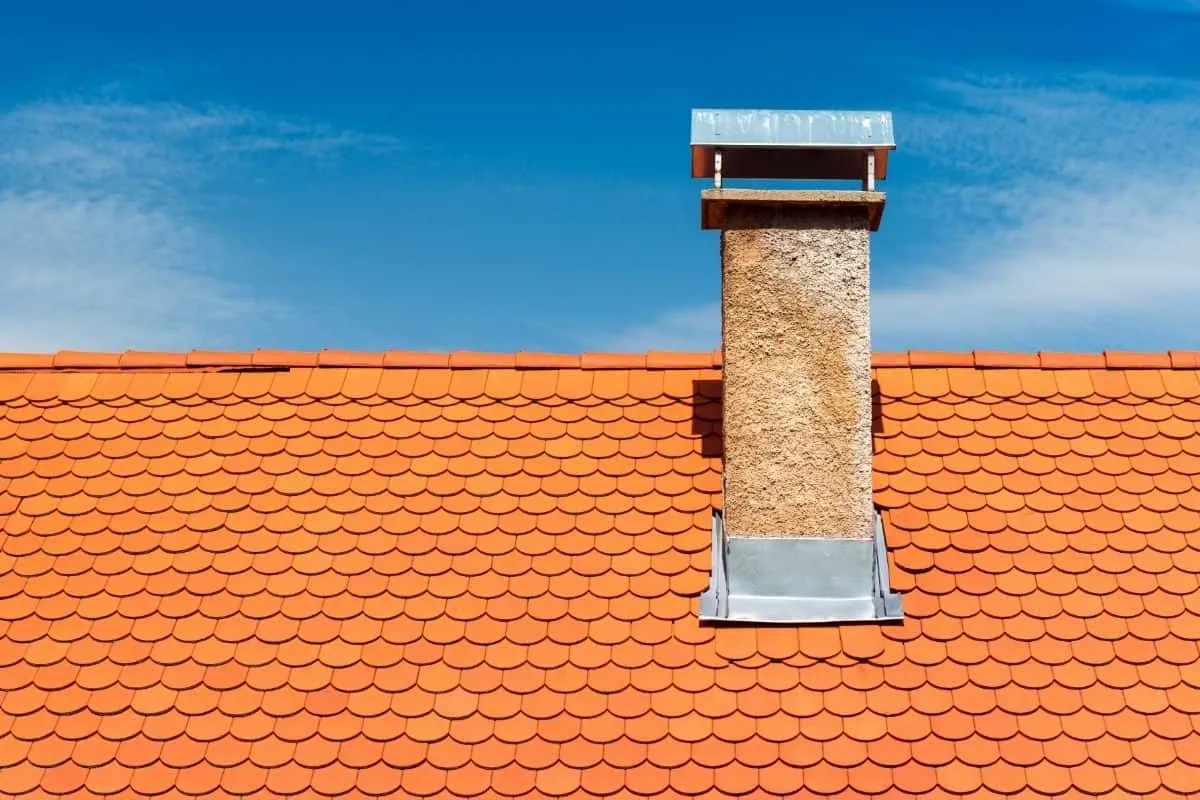
A chimney cap is a protective covering over the top of the chimney, often made of copper or another metal mesh material, that acts to prevent water, snow, animals, or debris from falling inside the chimney.
Make sure to keep reading to learn more about the function of a chimney cap and how it can prevent long-term damage!
What is a Chimney Cap?
Simply put, a chimney cap is a covering that goes over the chimney top.
These caps are typically made from copper or metal mesh material and are available in multiple styles that you can choose from to match the exact style of your home.
On the top section of the mesh material is a cap that will protect your chimney from the rain.
Over time, water can begin to eat away at the bricks and mortar material inside of the chimney. This could end up causing structural damage to the chimney and make the walls of your house to be more susceptible to water damage as well.
Without a chimney cap, your chimney is left with damage from water. However, you will also be exposed to downdrafts and any small animals getting into your home from the chimney.
This also helps keeps snow from getting into the house through the chimney during the winter months.
Is a Chimney Cap Necessary?
If you live in an area where there is not much rain or snow throughout the year, then it might not seem necessary for your home. However, rain and snow are not the only things that could cause problems in your chimney!
One of the major issues with having an open chimney is that small animals and creatures can get inside and make a nice little home for themselves. Critters like raccoons, squirrels, birds, and others will tend to get into the chimney area and build a nest.
If this happens, you will have blocked the airflow for the flames when you start a fire, which could cause more smoke to go into your home.
Another thing to consider is that depending on where you live it may be illegal to remove the animals from your chimney. In other words – no evictions allowed!
In these scenarios, you’ll have to simply wait for them to leave. Once that happens, you can clear out the residual nest (and hopefully install a chimney cap).
How Much Do Chimney Caps Cost?
If you want to purchase a chimney cap for your home, then you will need to know how much it will cost to get one installed. Well, the average cost of a chimney is around $300.
This includes the installation of the cap, which can be done by a professional. Because it will require you to get on a high ladder or the roof, it is best left to professional installers.
However, this is just the average cost and the range of options is much larger than that single number. Some options can as low as $75, but the higher cost options can easily run up to $1,000 and beyond!
It will all depend on the size of the cap and what material is it made off. They are typically made of metal, but high-end options are copper.
If you want to keep the cost down so that you can stick to a budget, then choosing a low-cost choice and installing it yourself can help you save hundreds of dollars on the installation and cost of the cap itself.
However, be aware that the cheaper materials may not last as long as the sturdier metal options. So, opting for the harder materials may help you save money in the long run.
Chimney Cap Installation
If you are in the middle of purchasing a chimney cap to install on your chimney, then you are probably wondering if you can do the installation yourself and save some money.
Well, it is suggested that you should not do the work yourself if you are not fully physically able. If you cannot climb a ladder and balance enough when being on the roof or high up, then you should get it done.
However, if you are able and willing to do the work yourself, then you can choose to use to do your own installation. If you are going to do this, then you want to have the proper tools and steps. We will go over that later, but first, you should know how long it should take so you can carve out the time to do it.
Luckily, this is not a job that takes a whole lot of time. In fact, this job can be done in about an hour, depending on your roof type and how easy it is to get to the chimney.
If you have a flat roof that will easily allow you to walk to the chimney, then it will likely only an hour. However, if you have a sloped roof that will make it harder to maneuver, then you may have to take a bit more time to do the job.
Now, when it comes to the actual steps of the process, it is not complicated and be done fairly easily for you to do. So, with that said, here are the steps you need to take to install a chimney cap.
Chimney Cap Installation Steps
Step 1: Get on the Roof
As mentioned, this will likely depend on the type of roof you have. However, this shouldn’t be too difficult in any situation.
Step 2: Fit the Cap
Though you have likely measured the cap before buying it, you want to see if it fits the way it should. When it fits snugly, then you will know that the option you got is the right size.
Step 3: Mark the Spots
When you have looked around to see where you can fit the L-bracket and screws, you will want to mark that spot so you don’t forget where it is. The brackets will attach to the cap and the chimney top, so be sure to mark both.
Step 4: Attach the Brackets
Now that you have the spots marked, you will want to get your brackets and put them in place so they line up with the mark. You will then use a drill to install the screws into the chimney cap.
You want to make sure that the bottom of the bracket is perfectly aligned with the bottom of the cap. This will ensure that the cap sits flat against the chimney when it is screwed in.
Also, it is important to use metal screws in the metal cap so they are sturdy, durable, and will not break easily.
Step 5: Screw the Brackets to the Chimney
Once the brackets are screwed to the cap, you will need to attach the cap to the chimney with concrete screws. You will need a concrete tip on your drill to ensure that your drill doesn’t get overworked or that the metal screws don’t break.
Put the cap onto the chimney and line up the marks with the L-brackets again.
You will want to drill pilot holes first before installing the concrete screws, so take the cap off and use the drill to make a pilot hole where your marks are.
Then, place the cap back onto the chimney and use the drill and the concrete bit to install the concrete screws into the chimney. The concrete screws will make the cap fit tightly to the chimney, so drill them in until the cap is flush with the brick.
Installation Tips!
The number of brackets that you will need will be determined by the chimney you have. If it is a bit unlevel, then you will likely need more to make it stable. But, if it is flat and the cap can sit nicely on top of it, then you may only need two brackets.
You will want to take a look at it before purchasing the brackets for the job so that you know how many you will need. Also, it is always better to have more than you need than not enough. So, better safe than sorry.
Final Thoughts
A chimney cap is not always something that is talked about amongst homeowners, and this is why many people tend to not know what it is. However, with the information in this article, you can see why having this type of cap is beneficial for your chimney and home.
If you see that your chimney does not have a cap, then buying one now will help you avoid problems in the future. And, with the instructions on how to do the job yourself, you can save some money on the installation to help your costs down.
