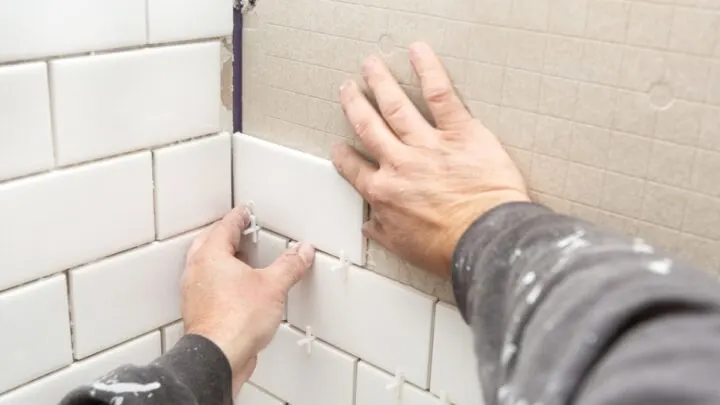
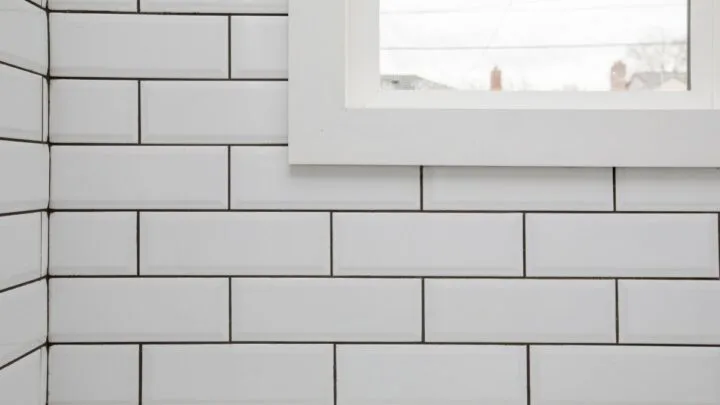
Subway tiles have a very seamless ceramic texture that gives your room a clean and classic look.
Subway tiles gained popularity after the 1990s, due to their hygienic and health benefits and because of this, you can find these tiles anywhere where hygiene is a concern!
And is it for this exact reason that you are looking to give your kitchen or bathrooms a polished look using subway tiles?
Subway tiles now are available in either individual tiles or even better, in the form of sheets. Sheets make it easier for you to install them. You can cut and arrange them according to your own space, making them extremely versatile and easy to install.
Now that you have decided to install subway sheet tiles, the next thing you may be wondering is how exactly you can do so and what else you need to know about the sheet installation.
Let us take a detailed look at all of these points below.

How To Install Subway Tile Sheets?
To install your subway tiles sheets, these are a few things you need to do.
First, prepare your walls for the new sheets. To do this, you need to cover any cabinet, switch and the corners using painter’s tape. This is to ensure that no item of yours gets damaged from the process. This will also save your money from fixing another mess!
The next step in preparing your wall is just to smoothen out the old paint using sandpaper or a high-grit sanding block.
This will create a clean canvas for your new sheets.
The second step and most important step is- Planning your sheet tile placement.
You can purchase your subway tiles sheets from any store nearby in the size that fits your walls. It is preferable to arrange the sheets first to understand how the walls would appear to avoid making any mistakes.
And to aid in your reassessment of whether you like the placement it is also advised to use bullnose tiles at all ends.
Bullnose tiles have round edges that are used to give the tiles a neat finish.
After you are satisfied with your planned design, it is now time to install them.
A premixed mastic along with a small trowel is an excellent way to place your sheets on the wall. A small trowel can help give you access to tight spaces.
When you have finished applying the mastic, using a V-shaped towel remove all the access and create groves on the wall.
This allows the tiles to stick better on the walls. Make sure that the trowel is always held at a 45 degrees angle. Once your wall is ready, it is now time to apply your sheets carefully.
Applying the sheets is an easy job, but it becomes slightly challenging when it comes to cutting off the edges. You can use a ceramic tile cutter or a wet saw to cut your tiles in any size.
After you have applied your sheet tiles, leave them overnight to dry. The following day you need to grout and caulk them using your desired colour.
Use a premixed grout to avoid the mixing hassle. Leave it to dry for over 24 hours.
The last step is buffing and sealing the surface of the tiles using a non-shedding cloth. This gives your tiles a smooth finishing look.
And just like that, you can have your dream subway tile look!
What To Avoid And Do When Installing Sheets Of Tile For The First Time By Yourself?
Installing subway tile sheets is super easy. Regardless of it being straightforward, there are still chances of you messing it up.
So here are a few things you should keep in mind while installing them:
- Always do your research on the cost required, resources needed for this project and the time consumed in tiling them.
- Research on the backer board where you’ll be laying your tiles. For example the moisture level.
- Choose your grout contrast carefully.
- Keep a wet saw or ceramic tile cutter nearby in case you need to cut up some tiles.
Similarly, avoid:
- Doing the caulk freehand. Use painter’s tape for much better precision and remove them before the caulk dries.
- Draining your premixed grouts and mastics down the kitchen or bathroom sink.
- Applying an excessive amount of mastic on the wall.
- Deciding that you can fill up spaces using just grout.

Are Subway Tiles Better In The Form Of Sheets Or Individual Tiles?
Subway tiles are an efficient way to get a quick chic look. They are available in both individual and sheet forms.
Subway tile sheets are quick and easy to install.
Unlike laying the individual tiles where you have to make sure you are lining them in a straight direction, sheets are less time-consuming since they are already lined up and require only to be stuck on.
However, some people still prefer to go through the long aching hours of installing the individual tiles due to the price difference.
Sheet tiles cost ⅓ more than individual tiles. Add in the cost of grout and mastic which further increases your cost of resources.
Furthermore, both the individual tiles and sheets have differences in appearance and the grout application as well.
Individual tiles seem to appear larger than sheet tiles, although this again depends on one’s personal view.
Final Word on Subway Tiles Coming in Sheets
To sum up, subway sheet tiles provide you with the same glossy look as the individual tiles but at a much higher cost.
However, they are very simple to install and are extremely beginner-friendly as well!


