
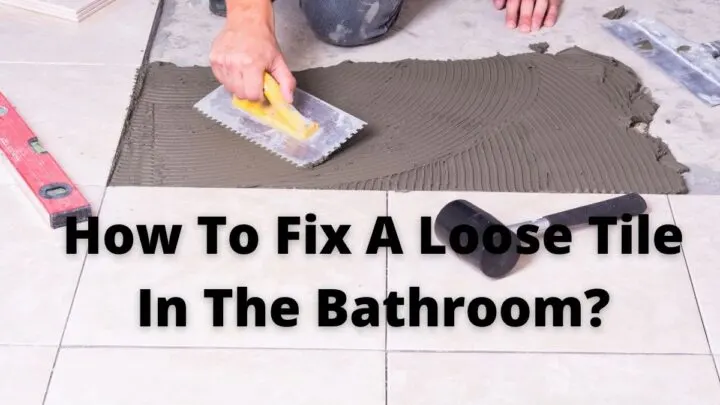
As strong as tiles may seem, they eventually wear out, fall apart, or become loose. It’s important to know how to fix a loose tile in the bathroom.
Broken bathroom tiles are a genuine problem for homeowners.
It looks bad when someone’s bathroom tiles start to fall out of place, but they may also cause bigger problems if you don’t fix them soon enough.
To fix a loose tile in the bathroom, you will have to remove the damaged tile and the excess left behind. Next, you will have to install the new tile to replace the broken one and then grout it to ensure a long-lasting duration.
Fixing a tile is a tough job, and it takes a lot of focus and precision.
This guide will provide a simple step-by-step guide on how to fix a loose tile in the bathroom so that you can go on to enjoy a perfectly functional bathroom that is also safe and secure.
We have compiled these steps and information based on extensive research, which will help you figure out how to fix loose tiles and deal with broken tiles.
With the help of this guide and the right tools, you will be able to repair your own loose or damaged floor tiles rather than paying someone else to do it for you.
Guide to Fixing a Loose Tile in the Bathroom
The tiles on your bathroom floor or walls may move slightly when you press down hard.
This is a sign that the grout seal around and under these pieces have been compromised, which can lead to further moisture intrusion and damage throughout.
Do you have a loose tile in your bathroom? If so, then there’s no need to worry because this guide will show you how to fix a loose tile.
Below, we will look at the step-by-step process of cutting out the grout and replacing the damaged tile. Let’s get started!
Step 1: Remove the Damaged Tile
When you’re ready to install new flooring in your home, make sure that the surface is clear of any former tiles.
If there are small pieces left behind after removing a large fragment (or even just loose ones), then be cautious about damaging nearby surfaces on all sides, because they may not go away with simple scraping.
However, if this doesn’t present an issue, it should still prove straightforward enough, especially since most people find disposal easier than installation!
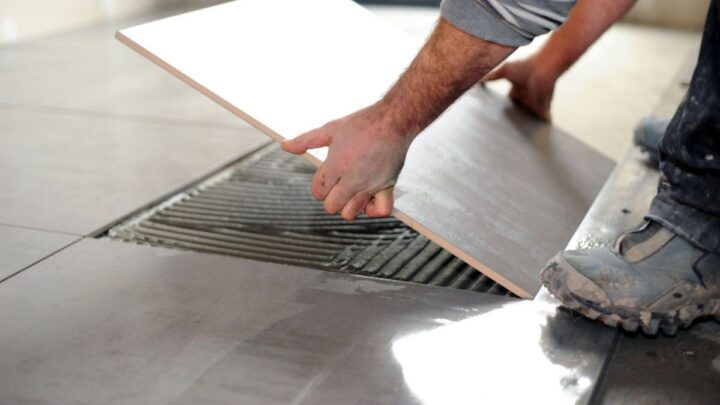

Step 2: Install the New Tile
Obviously, it is important to have the right measurements when picking out new tiles for your home, so make sure you bring along any fallen pieces in order to measure it properly.
After this, buy an adhesive from a local hardware store that will work well with what’s already there; otherwise, things could get ugly really fast!
For bathroom tile replacements, it’s best to use a water-based mastic adhesive.
You’ll only need about 1/4″ of adhesive on the backside. Then, press your new tiles firmly into place for 30 seconds before removing any excess with paper towels or cloths (carefully!).
This will ensure maximum bonding strength between you and those beautiful ceramic squares!
Step 3: Grout the New Tile
The next step in repairing a broken tile is to seal the area around it.
This will keep water from getting under your feet and damaging other tiles, as well as protect any flooring beneath.
Mixing grout is a tricky process at first, but with practice, you’ll have it mastered in no time!
You need to make sure that there’s enough product on hand so as not to waste any.
When mixed together properly, the consistency should be like peanut butter or toothpaste, meaning not too runny and definitely not watered down.
Apply the mixture over your floor tiles until all sides are covered, leaving about an inch between each piece. Then, use the cloths or sponges kit provided by the manufacturer.
Once the grout has had time to dry, wash away any excess liquid that may still be on your tiles. If you wait too long before this step, it will become much more difficult and take longer than necessary for everything else in between!
Step 4: Let the Grout Cure
Now that you have allowed the tile time to cure, it is important not to move or remove them for at least 24 hours.
This will ensure a strong bond between your grout and floor with excellent results!
Summing Up How to Fix a Loose Tile
A loose tile doesn’t automatically have to mean contacting a professional to do the job for you. Figuring out how to do it yourself can save you quite a bit of time and money.
By following these easy steps of removing the tile, installing the new one, grouting the tile, and then letting the grout cure, you can easily replace any loose tile in your bathroom!

Steve Mancini
Thursday 11th of July 2024
Make sure to scrape or chip off the existing adhesive. It is always best to use thin set on a floor. Thin set can be bought at your local hardware store or a Home Depot store. Use the proper notched trowel to make tile flush with the existing tiles. After spreading the thin set, clean off about 1/4 inch around the edge of the tile so that the thin set does not ooze out. Before installing the new tile, it is best to back butter the new tile in order to get the best adhesion. This is a simple process. Use the flat edge of the trowel and cover the back side of the new tile with a thin layer of thin set. Place the tile into the thin set and move the tile back and forth to make sure that you have a good bond. In order to make sure that your tile is flush with the existing tiles, use the edge of a flat piece of wood that overhangs the new tile about 6 inches on each side. Put the wood on top of the new tile and lightly move it back and forth until the new tile is flush. Clean out excess thin set around the edges with a tile spacer. Put 2 clean tile spacers on each side of the tile to insure proper placement. Allow the new tile at least 12 hours before grouting. This step is necessary to assure that you do not A: move the tile and B: not allow the grout to absorb any of the thin set, which could possibly some discoloration. Install grout according to instructions on the package or box.