If you have Venetian blinds installed in your home, it’s likely you will need to know how to fix them at some point.
For a seemingly simple window covering, Venetian blinds have quite a few mechanical pieces.
They can be intimidating to try and fix on your own. Not only that, but these popular window coverings can also be quite expensive, depending on which kind you buy and how many windows you have installed in your house.
Having a blind that isn’t working correctly can make a big difference in your privacy, sleep patterns, and the general aesthetic of a room.
The most common fixes for Venetian blinds in order to make them work are to replace the tilt mechanism, install a new valance clip, remove and replace a broken string, and to also replace any broken slats.
Because these blinds are made to be able to open, close, tilt up and tilt down, there are quite a few moving parts involved.
If one stops working, it can mean the whole blind is no longer doing its job.
And who wants to pay a handyman to come out to your house just to fix one simple window treatment? There must be a better solution.
Luckily, there is. Keep reading to find out what I’ve learned when my own Venetian blinds have decided to put my DIY skills to the test.
By breaking down the 4 most common problems and fixes, you will be able to troubleshoot your broken blind in no time.

How to Fix Venetian Blinds
As any do-it-yourselfer knows, completing those small projects around your house can bring great moments of joy.
It’s incredibly rewarding to not have to bring in another person to fix the things that just don’t seem to be that tough to fix.
Venetian blinds are designed to be able to perform a myriad of tasks, as I outlined above.
They are a time-honored and attractive way to provide privacy in a room, as well as allow in more light or more shade, depending on the time of day and what mood you are trying to set.
Because they are multi-functional, they also have a bunch of moving parts.
Knowing which part needs fixing and how to go about it will make this DIY project successful, and will help your budget in the process.
Replace a Tilt Mechanism
If your Venetian blind is no longer tilting properly, it will be hard to get the preferred amount of light or shade into a room.
The typical fix for this is to replace the tilt mechanism in your blind, as this is the part that allows the blind to move in different directions.
This is a pretty straightforward problem, but it will require some deconstruction before it can be fixed effectively.
- Remove the blind from the window and lay it flat. Next, locate the old tilt mechanism, which is located inside the top housing of your blind.
- To remove the old tilt mechanism, you will need to rotate it toward you, then gently pull it free from the housing.
- Once the old tilt mechanism is removed, replace it with the new one by sliding it in and snapping it in place.
- When you have the new mechanism in place, reinstall the blind and try it out. Your blind should now be able to tilt in whichever direction you prefer.
Install a New Valance Clip
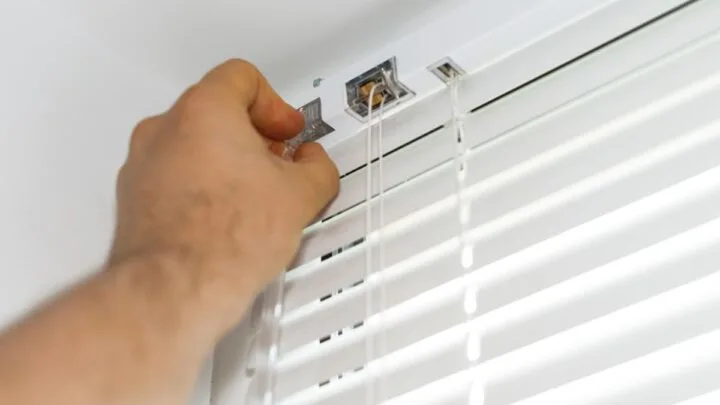
If your Venetian blind has slipped out of place and there is now a space between the blind and the top of your window, you’ll need to replace one or more of the valance clips that are designed to hold it in place.
This is easy to do and shouldn’t require removing the entire blind in order to fix it.
- Reach up and find the broken valance clip.
- Slide the broken clip over the top of top your blind housing to remove it. (If multiple clips are broken, you may need to remove the entire blind in order to fix it appropriately.)
- Snap the new clip into place, being careful not to break it off in the process.
- Remount the blind back into the housing that is still attached to your window.
- Stand back from the blind and see if it is now sitting flush with the top of the window. If not, adjust accordingly.
Remove a Broken String
A common problem for older Venetian blinds, or those that get a lot of use, is for a string to eventually break.
Follow these steps to replace one.
- Measure the string length when the blind is pulled all the way up and the string is at its longest. This is the length you will want your new cord to be.
- Remove the old cord, but be careful to make sure you know exactly the pattern in which it was placed. (This will be important when you go to restring the new cord).
- Carefully restring the new cord by following the same pattern as the worn-out cord. Be aware of which direction the cord needs to wrap around each roller and where it must align with the eyelets and locking mechanism that is responsible for engaging your new cord.
- Once the new cord is in place and everything is working correctly, tie off the cord to prevent it from slipping. If you have children or pets, make sure the cord is not at a level they could become entangled in it.

Replace a Broken Slat
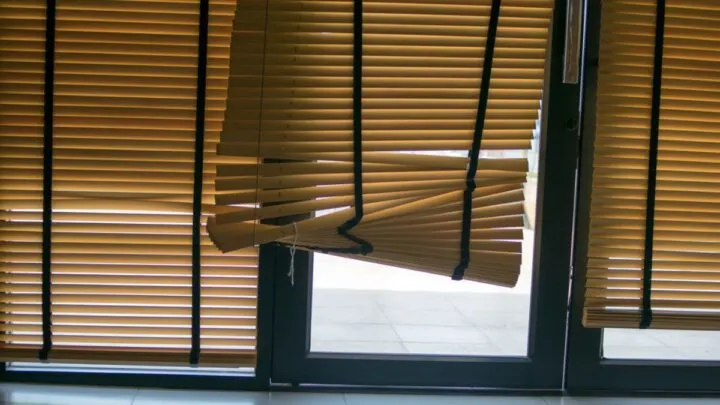
Having a slat break is a common issue with Venetian blinds, but can be one of the easiest fixes, if replacement slats are still available.
- Determine what type of blind you have and how you can order a new slat for it.
- Slide the old slat out of the eyelets, being careful to install the new one in the same direction, and not damage any of the functioning ones (or the eyelets) in the process.
- Test the new slat and make sure it’s laying in the same direction as the others.
Summing Up How to Fix Venetian Blinds
There can be many reasons why your Venetian blinds might need to be fixed, and some of the most common ones are strings breaking, valance clips snapping, or replacing the tilt mechanism.
This guide offers some pretty easy DIY tricks in order to fix your Venetian blinds so you hopefully don’t have to call a professional.


