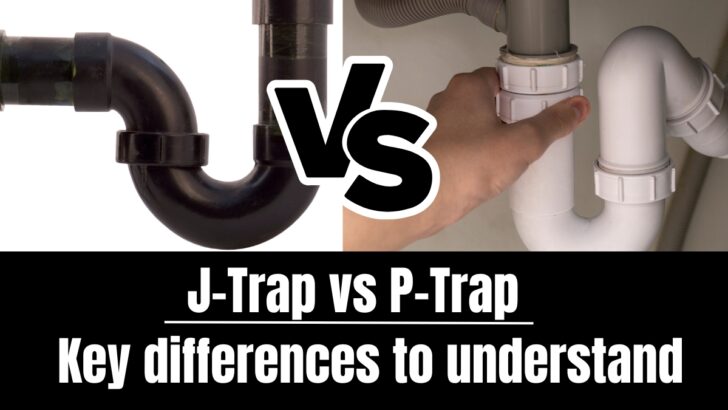
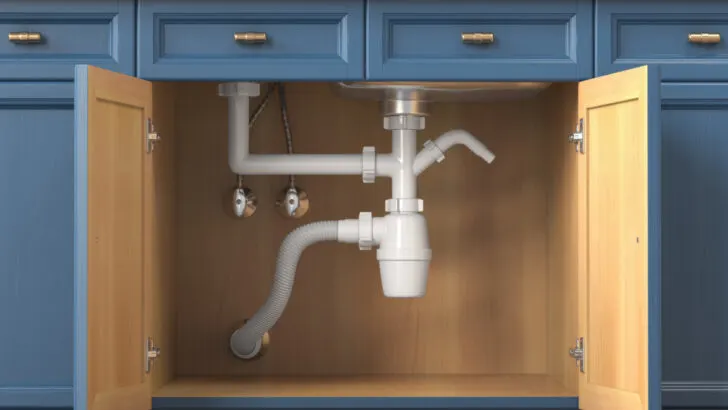
Traps are a feature of every waste and drain system and are made so that sewage gas cannot enter buildings. Examples of names for these traps are J-traps and P-traps.
But there are small variances among all of these traps, even though their goal is to create a secure plumbing installation.
Despite their similarities, J-traps and P-traps have different shapes. As we compare and contrast J-traps and P-traps, we will look at everything from their geometrical structure to the scenarios in which they are advised to be used.
Key Differences Between P-Traps and J-Traps
Here are some key differences that you should know about these two devices:
Definition
P-Trap:
The drain from your sink is connected directly to the sewage line or septic tank via a P-trap, a bent pipe with a p shape. Under normal conditions, p-traps always hold some water.
They feature a strong water seal and are built of UPVC or cast-iron sheets. One of the p-trap’s primary functions is to prevent the entry of toxic gases like methane into the home.

Homeowners can quickly and easily reclaim small things that can fall down the drain thanks to these traps. P-traps, in short, are a regular feature of modern plumbing systems.
PVC and chrome P-traps are the two main types you’ll encounter.
If you want to install a bathroom sink or have a wall-mounted kitchen, chrome P-traps are aesthetically nice and tend to go with many people’s decor.
They are ideal for household acids and high-temperature liquids. However, they are somewhat expensive!
J-Trap:
In addition to its more frequent names, a J-trap may sometimes be referred to as a P-trap, S-trap, or U-trap. A J-trap is mostly located below a sink to prevent toxic fumes from the sewers from entering your house. However, S-trap or U-trap, both the terms can be used interchangeably, and either name can refer to the same component.
Other than this, misalignment, leaking, and breaking are some of the most common issues with a J-trap.
How Large of A J-Trap or P-Trap Should You Install?
Always replace or repair P-traps and J-traps with other traps of the same size. This is the safest and most effective method. Trap sizes typically adhere to this pattern but vary greatly depending on installation.
| Type of Trap Installation | Size of Drain Traps |
| Bathtubs | 1-1 1\2 inches P-trap or J-trap |
| Bathroom sinks, or kitchen sinks | 1 and a 1\4th inches P-trap or J-trap |
| Dryers | 1-1 1\2 inches P-trap or J-trap |
It is imperative that you are aware of regional building codes before you install a new drain in a newly constructed building. Also, you can get advice on the right P-trap size and installation technique from your building inspection department.
Material for Traps
Three different types of materials that can be installed in your home are used in the production of P- traps and J-traps. P-traps and J-traps are most frequently made with the following tree materials:
- PVC
- Brass
- Plastic ABS
Generally speaking, you should utilize a P-trap or a J-trap constructed with the same materials as your home’s drain pipes. Because different types of adhesive are required to produce the joints, connecting various plastics might be problematic.
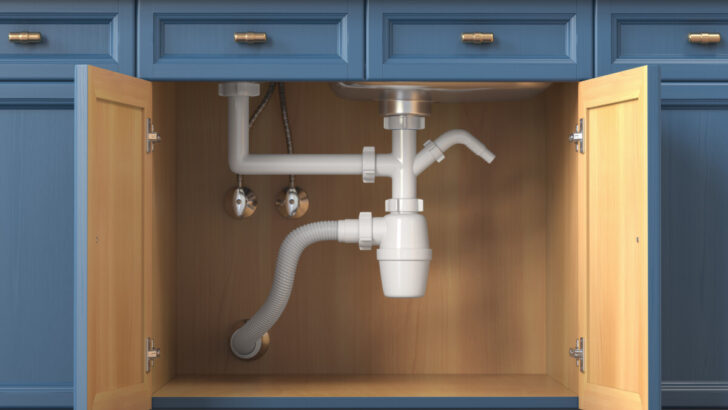
How Do These Traps Function?
J-traps and P-traps perform a crucial job in stopping sewer gas from entering your home through the sewer line. The idea is quite straightforward.
A tiny amount of water is captured in the J-trap or P-trap, acting as an obstacle to prevent sewage gas from trying to return up the drain line. A sink trap has a supplementary purpose in preventing small objects from going down the drain. Jewelry, such as rings and watches, frequently disappears down the drain in the bathroom, but it’s usually relatively easy to get it back.
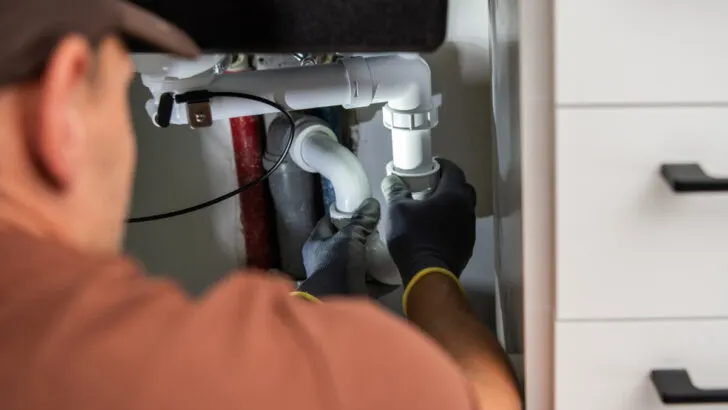
Replacing a J-trap
Here’s how to replace a J-trap:
- First, grab a bucket. To get the J-trap out, you have to unscrew it from the pipes. If the compression nuts don’t bulge, try rotating them counterclockwise with a pair of slip-joint pliers.
- Turn the j-trap upside down so the nuts can be removed and the bucket fills with water.
- Now inspect both the compression nuts and washers. If the compression nuts are in good condition, you can reuse them. However, they should be replaced if they show any signs of pits, cracks, or tears.
- Now find the replica of the J-trap previously installed. Any other style will result in poor fitting and leak-prone drain pipes.
- Take the J-trap out of the packaging and then dry-fit the pipe. It needs to line up perfectly. Then turn the nuts until they are hand-tight, and check for leaks by pouring water down the drain.
Replacing a P-Trap
Here’s how to replace a p-trap:
- First, you need to replace the curved P-trap and transfer it to a bucket from underneath the sink.
- For this, put a medium bucket under the sink to catch any water that might spill out while you work.
- Now disconnect the trap arm and bring a new P-trap.
- The slip nut connecting the trap arm to the sewer pipe inside the wall must be removed. Pull the trap arm from the pipe using your hands to disassemble it. The trap arm will then be trimmed to the same length as the former trap arm. Instead of attempting to cut the pipe down to size, just purchase a fresh trap arm of the same diameter.
- Cut the pipe down to size; just purchase a fresh trap arm of the same diameter. Confirm the P-trap arm and bend will fit into the tailpipe and sewer pipe by doing a thorough visual check. Put a nut on the trap arm after ensuring it is the right size.
- The nut’s threads ought to be pointed in the direction of the arm connection. The arm’s direct side should then be connected to a nut. The nut’s threads should face the straight side.
- The trap arm’s pointed end must be capped with a washer.
- Connect the drain behind the wall to the trap arm. Integrating the trap bend into the trap arm’s exterior and the tailpipe is the following stage. The nuts should be tightened to the proper hubs and fittings.
- After the bend and arm of the P-trap are joined, the trap arm must be adjusted to face the wall.
- Now, manually tighten the metal or plastic slide nuts. Pliers are your best bet to ensure everything stays there if you can’t get the nuts nice and snug with your hands. You should turn on the sink to check that the slide nuts are secure. A water leak via the P-trap pipe indicates a loose slip nut.
- If there is a leak, you can stop the water from doing damage by tightening the connections with your hands or pliers.
Final Words on P-Traps vs. J-Traps
Both the P-trap and the J-trap play an important role in maintaining a healthy environment within the home. If the drains in our homes did not have traps, our day-to-day activities would be very different.
Consequently, there would be unpleasant smells, dangerous working situations, and unsanitary structures. Therefore, we tried to put out the best information on j-traps and p-traps that will help you better comprehend their significant role.
