

Penny tiles are quite popular in home design right now, probably because of the creative freedom that it gives to the homeowner.
Since there aren’t any patterns in penny tiles, all that is to the look is the color of the tiles, the material, and the grouting.
Penny tiles can be difficult to install, as it involves quite a bit of labor and planning to be able to get it to look professional. However, since penny tiles are all the rage, sheets or squares of penny tiles are now readily available in the market, which can make the job easier.
If you want to install the tile one by one, you might have to spend a lot of time in planning, then installing the design, followed by grouting the whole surface for it to stick.

Is It Hard To Install Penny Tiles?
Since penny tiles are quite small, the task of installing the tiles can seem daunting. However, the task is easier because tile stores now sell penny tiles in sheets or squares.
Unless someone wants to go into a complete DIY model and design a penny tile flooring or wall design based on a bespoke and unique design, installing the penny tile is about 15-20 hours of work for two people.
Penny tiles require a lot of grout as well, which can be a time consuming task and can ask for a lot of maintenance.
Even though the classic look of the penny tile has wide spaces in between, many penny tile sheets now come with the tiles placed closer together so the grouting does not accumulate a lot of dirt and debris and is easier to clean than the classic look.
Once you have grouted the tile, you will have to wait about 20-30 minutes for the grout to set and dry before you can clean the penny tile surface with a slightly damp sponge or cloth.
This is one of the most time consuming tasks, but the final result of the penny tile will leave you in awe.
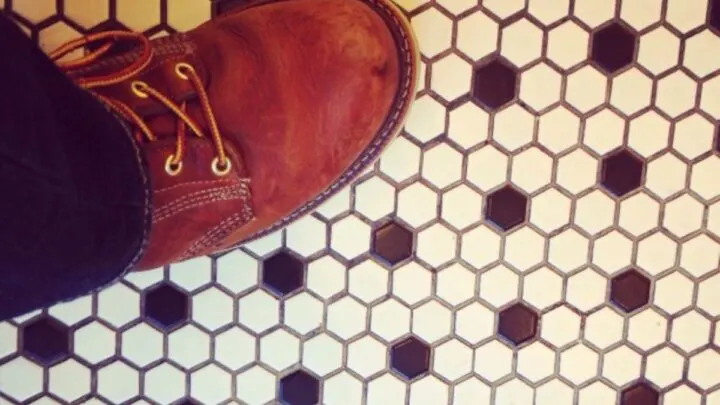
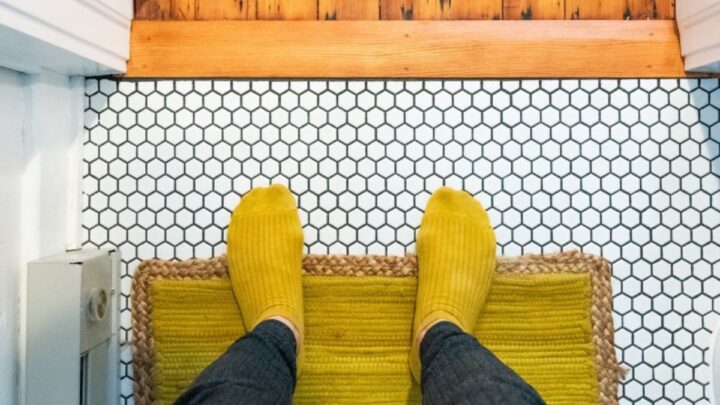
When you’re picking the penny tile, the final look depends on the spacing, the grout color, and the color of the tile. If you want a contemporary and chic look, white or gray shaded penny tiles are the perfect choice.
However, part of the trend is creating patterns and mosaics from the tiles which require a lot of effort in installation if the tile store does not stock pre-made penny tile designing sheets or the available designs are not as per your liking.
What Size Trowel For Penny Tile Floor?
When you are installing penny tiles, grouting can be a time consuming task if you are not using the right sized trowel.
A 1/4 inch x 3/16 inch trowel that is V-notch works perfectly for the round penny tiles. If you cannot find a v-notch trowel, a square trowel of the size 3/16 inch x 3/16 inch called a Ditra trowel also works just as fine.
If you are using a larger sized trowel, chances are you will be using too much of the grouting material and the texture of the penny tile will be lost.
If you are using a trowel smaller than the one required, you will be doing more effort for the installation which will elongate your project timeline.
Can You Cut Penny Tiles?
Penny tile sheets have penny rounds glued on top of a mesh surface, so it is easy to remove some pieces of the round penny tiles from in between and make a pattern of your choice.
You can also cut the penny tile sheets to your desired length with scissors.
However, if you want to cut a penny tile in half so it goes all the way to the end of the wall without any unnecessary spaces, you will need some tools for it.
Tile nippers are a handheld tool that look like pliers. The major use of tile nippers is making rounded corners in square tiles.
Since it is a small tool, using it for larger or “standard” sized tiles is exhausting as it removes only small chunks of tile at a time.
However, when used for penny tiles, tile nippers are great because they can easily cut the penny tile in half or more or less than that to make it a perfect fit for the wall or flooring you are installing it to.
Using Tile Nippers To Cut Penny Tiles
Using tile nippers to cut off a penny tile is very simple. The first step is to place the piece of the tile in the nipper jaws.
Make sure that you place the tile exactly where you want to cut it. If you want to cut it in half, place the jaws at the center point of the penny round.
You can adjust the placement of the nipper jaws based on how large or small you want the penny round to be.
The next step is squeezing the handles of the tile nippers together.
You can do it with one hand or use two hands, one for each handle of the tile nipper based on how it works out for you.
Can You Regrout Penny Tile?
If you want to make your penny tiles look good as new, applying new grout can be a great idea instead of reinstalling the penny tile which can be expensive as well as time consuming.
To regrout the penny tile, you need to use a tool for grout removal like a hard bristle brush.
If you don’t want to tire out your hands, you can even put up a round brush on top of a drill machine and let the machine do its job.
However, you will need to wear a face mask to protect yourself from the small nanoparticles that will fly around.
Once the depth is at least 2mm, you can apply new grout on the top and again go through the process of cleaning the penny tile after the grout has set to give the final finished look.

Summing Up Installing Penny Tiles
If you want a modern and chic look in your space, installing penny tiles is probably the best decision.
With penny tiles you also have the creative freedom to create mosaics and patterns that stand out and look absolutely unique.
However, installing these small round tiles may seem like a daunting task.
With the right tools and penny tile sheets, you complete the work of installation on a mid-sized wall within a day.
