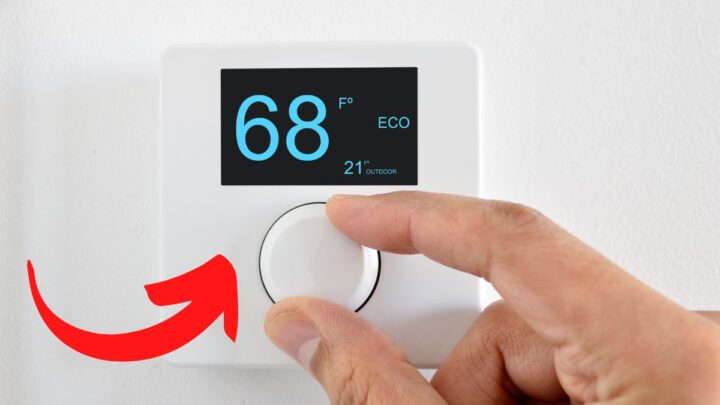
A Nest thermostat can be a blessing for the house.
The smart device learns the homeowner’s temperature preference and adjusts the environment of the house before the homeowners come in.
Plus, handling the device from your smartphone or through the Google assistant gives you complete control of the device, and your house.
If your Nest device is not cooling properly, try checking for any issues with the batteries or the wiring. You can try to reset the learned schedule, assess and fix the connection to the AC unit, or replace the battery entirely.
Read on to learn other ways that you can fix your Nest thermostat if it’s not cooling properly.
Common Issues With The Nest Thermostat
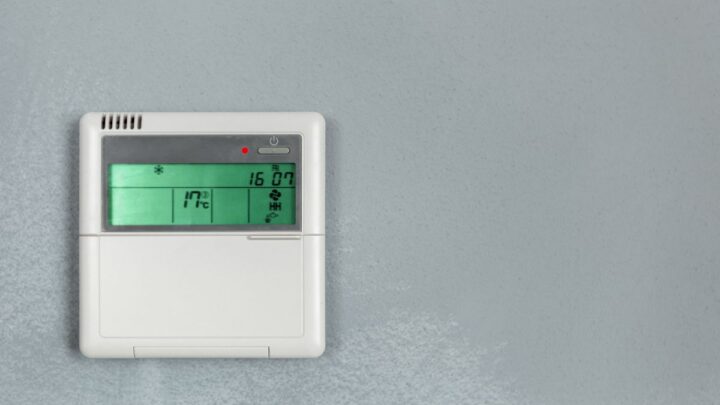
Even though the invention is a great one and is one step towards making the house completely cared for, some users face issues with the Nest thermostat not cooling.
In order to fix the issue, it is important that first you diagnose what the problem actually may be.
Here are some of the common reasons why the Nest thermometer is not running efficiently:
- Maybe there is a power outage which is why the thermostat is not cooling.
- The Nest thermostat is not compatible with the air-conditioning system.
- Nest might have incurred a technical issue.
- Wrong wiring in the air-conditioning system.
- Faulty motion sensors in the Nest device.
- The wifi might be getting disconnected frequently which is what Nest needs to function properly.
- An internal damage to the device. This issue can be detected if the thermostat is making clicking and beeping noises.
- Weak batteries.
You can run the diagnosis by checking the settings for issues like wifi connectivity and battery levels.
Running An Initial Diagnosis On The Nest Thermostat
Since a possible cause of the malfunctioning also might be internal issues in the device such as faulty motion sensors or a fault with the HVAC unit, you can conclude this diagnosis if you have crossed out the possibility of the other issues.
For an incompatibility issue, you can always check this list that shows which system the Nest thermostat is compatible with.
The following five steps can help you either to diagnose one of the common issues or cross out the possibility of them so you can call an expert to help you or claim warranty on your Nest device if it has an internal fault:
Step 1: Reset the Learned Schedule
The Nest thermostat learns your temperature preferences to give you the best experience at home.
However, at times, because of a bug or your changing schedules, the Nest’s learning algorithm might get confused and mess up.
The first step to fixing your Nest thermometer unless you know there is an internal issue or a battery issue is resetting the schedule.
This way, the Nest device will again learn your preferences according to a new schedule.
- Open the settings on the Nest app
- Go to the reset option and select schedule
- Select the reset option
This solution works if you have recently changed your schedule and the Nest does not have an idea about the change.
Therefore, it cools and conserves electricity based on your previous routine.
Step 2: Turn It Off and Back On
Even modern technology cannot beat the time old trick of turning off the device and then restarting it.
This is an unexplainable but useful trick even now. So, if resetting the schedule did not make a difference, you might want to turn off your HVAC unit.
You can do this by turning off the HVAC power on the breaker box. Turn off the thermostat as well.
Make sure you don’t have an alternate power source like a generator to power devices in case of an outage.
If you do, turn off the generator as well to cut off all power to the device and the HVAC unit.
Turn everything back on after 10 minutes and check the cooling status over a few hours or better, overnight.
Step 3: Assess and Fix the Connection to the AC
At times issues with electric wiring can also cause the thermostat to work improperly. The connection to your HVAC might have become loose or might have gotten damaged.
Make sure that you shut off the power of the Nest and the HVAC before examining the wires. Also check the wires on the Nest.

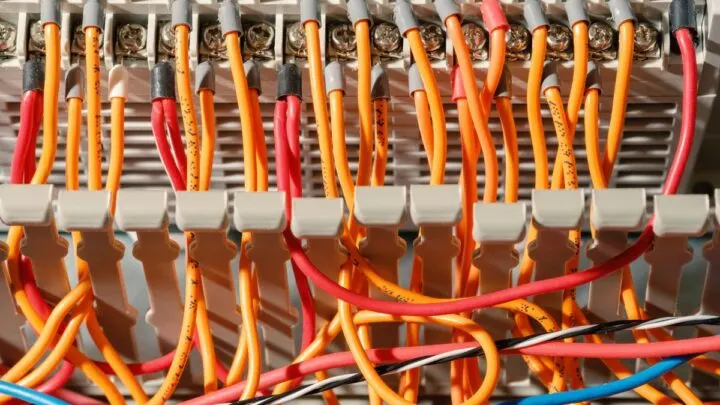
Missing C-Terminal Wire
One common issue is a missing wire on the C-terminal.
The missing wire might not cause an issue initially when connecting the Nest but might cause an issue later because the C-port assures that the thermostat gets continuous electric supply.
Issue with the RC, RH Wiring
If you have had an old thermostat before Nest, it probably had a single R-wire which was bridged to either the RC or the RH terminal.
Both the RH and the RC wires in Nest have separate ports. But if your HVAC system has only a single R-wire, you need to connect it to the RH port on the Nest device.
Even if that doesn’t do, you can try connecting it to the other port to test if it works. Who knows, it might just do the trick.
Issue with Wire Labeling
Knowing that your cooling system is compatible with the Nest device is not enough. You might have installed the Nest thermometer based on the labels of the old thermostat.
However, this might not work as the Nest comes with a different set of ports like a separate RH and RC port.
The compatibility tester can help you with the correct wiring on the Nest that should set up the device correctly.
Step 4: Check Your Air Conditioning Unit
If everything from the above steps is set, you might want to assess whether or not your air-conditioning unit is working properly.
Air conditioners, especially if they’re old, need maintenance for functioning properly.
For example, clearing the dust from the AC vents, checking the coolant status, drain pipes, drain pan, and the air filters should be a part of the monthly routine, especially if you are living in a humid area.
If you are living in a moderate climate, a deep clean routine once every two months is a must.
Furthermore, at times a blown fuse in the AC might also be causing the issue.
In this case, calling on an expert to repair the fuse will resolve the problem.

Step 5: Replace the Battery
If you have ticked off all of the previous steps, a faulty or weak battery might be causing the issue.
At times a bug might cause Nest to misreport the status of the battery.
This is especially true for older Nest models and is an evident issue if your Nest thermostat suddenly began to malfunction after a long period of smooth operations.
Replacing the batteries might resolve the issue and will have your thermostat running smoothly again.
Summing Up How to Fix Your Nest Thermostat
The Nest thermostat is a wonderful device till it starts to show problem signs.
If the Nest device is not controlling the HVAC unit and is unable to cool properly, chances are that there is some issue with the settings or some internal damage to Nest or the air conditioning system.
These five steps can help you to run a diagnosis and resolve the problem.
If you still can’t figure it out, you might as well call an expert to help you figure out the issue and resolve it so you can get back to having a seamless experience.
