Building a home is exciting! You will find yourself looking forward to every small process and may find yourself asking, “What step is next?”
This article will walk you through the detailed steps of building a home in the general order they will be completed.
- Design Work
- Pre-Construction Activities
- Site Excavation
- Foundation Work
- Framing
- Mechanical Rough Ins
- Insulation
- Drywall
- Interior Finishings
- Exterior Finishings
- Touch-ups and Final Installs
- Cleaning
- Closing!
There may be scenarios where some items may occur in a slightly different order or they may take place at the same time. This guide is a general picture of what you can expect in most cases.
Most custom homes take 1-2 years to complete, which includes both the design and construction phases.
Read on to learn more about what is included in each of these steps.
#1: Design Work
The design phase kicks off the whole process of building a home. It includes everything from entering a contract with your home builder, designing floor plans, conducting land surveys, and agreeing to a construction budget.
The design phase can take anywhere from 1-6 months depending on how much planning you or a builder has done ahead of time. If you can’t make any decisions, this can easily extend past the 6 month mark.
Check out my detailed article What’s Included in The Design Phase. It will paint a full picture of what to expect during this important phase!
#2: Pre-Construction Activities
Pre-construction activities include everything needed to begin moving dirt.
This includes obtaining city or county Permits, prepping the site for construction, Installing temporary utilities and any required erosion control methods.
For our home we had to install a silt fence around the perimeter of the lot to protect from run-off or disturbing land outside the construction zone. We also added a track pad for heavy equipment and brought in a dumpster and porta potty for the crew.
These types of activities usually take a week or less complete.
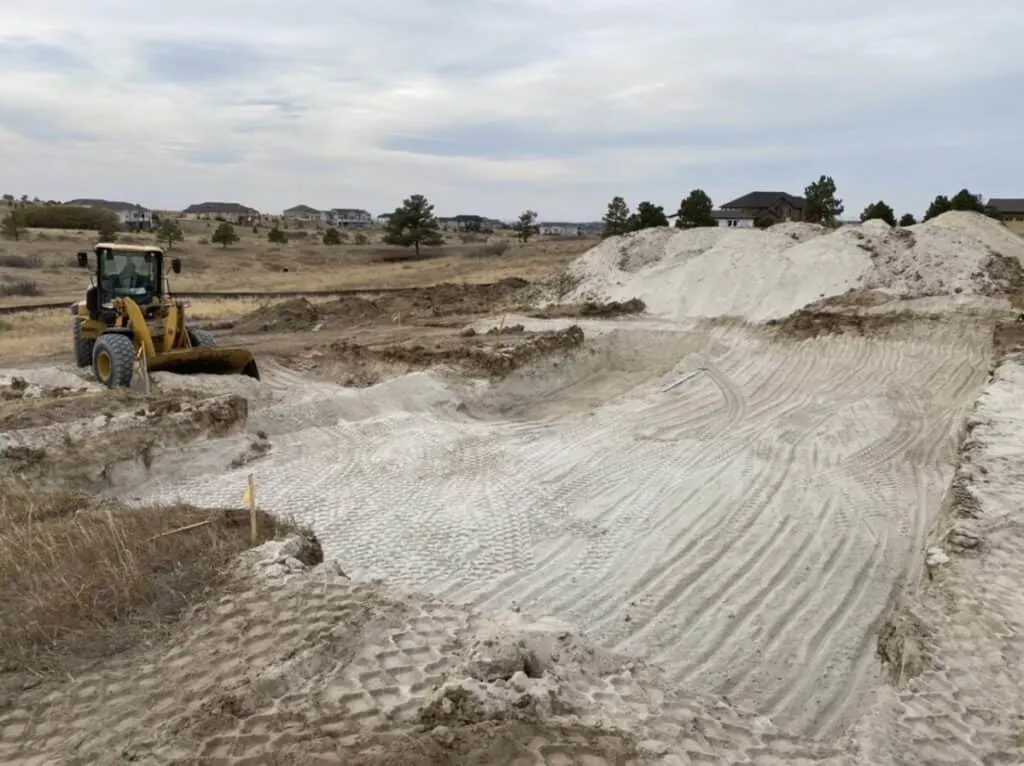
#3: Site Excavation
The start of excavation is an exciting time! This is when your dirt finally starts to move!
The excavation crew will come in and dig to prep for your home’s foundation. Typically they will excavate the area of your home plus a 5-foot area on all sides to allow for space to build the foundation walls.
Once the dig is complete any open hole tests will be performed before any foundation pours will begin.
Depending on the scope of your excavation, this process could range from a couple days to a couple of weeks!
Ease of maneuvering on the lot, ground composition, and the scope of excavation will all play a role in determining the overall timeline.

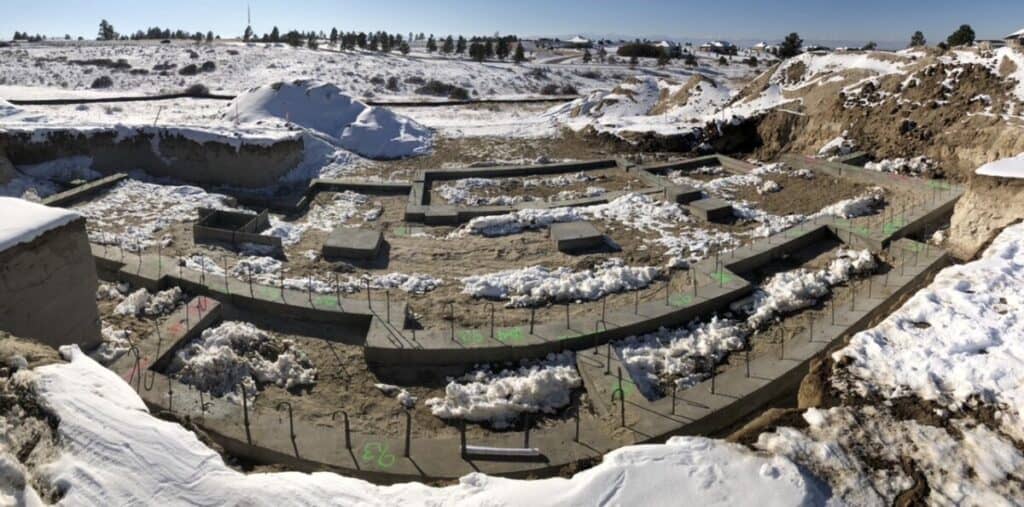
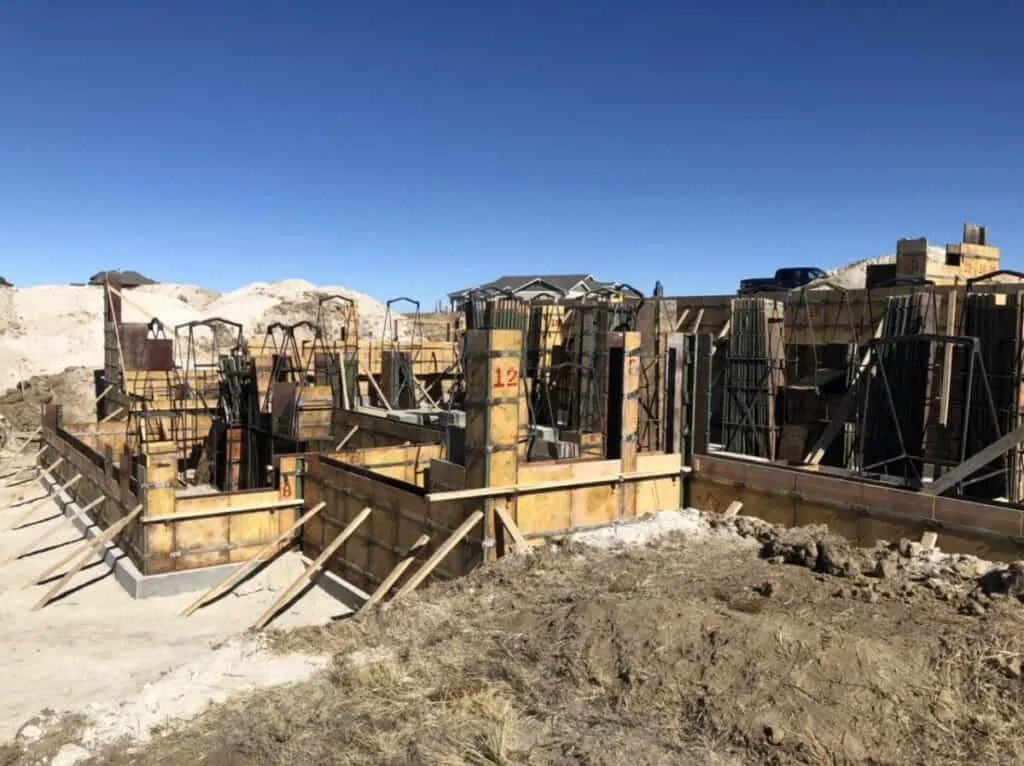
#4: Foundation Work
Now it’s time to start filling the hole you just dug!
The foundation stage starts with framing and pouring foundation footers. This is the bottom of the foundation’s support system. Footers are where foundation walls or support framing will be placed in the future.
After footers are set, your foundation walls will be built and poured with concrete. Drain and damp-proofing will be applied Damp proofing is to add a layer of protection from water seeping into the foundation and the drain helps direct any water away from your home.
Similar to the excavation process, the size of your home will be a primary factor for determining how long this process takes. However, 1-2 weeks is a reasonable expectation for many homes.
Once all waterproofing is complete, your foundation will be backfilled. This is where they push all dirt back up against the foundation wall.
The last step in the foundation process is to add any base plumbing and complete the flatwork.
Flatwork is the pouring of concrete for your foundation floor. Most homes have flatwork in the basement and on any garage floors.


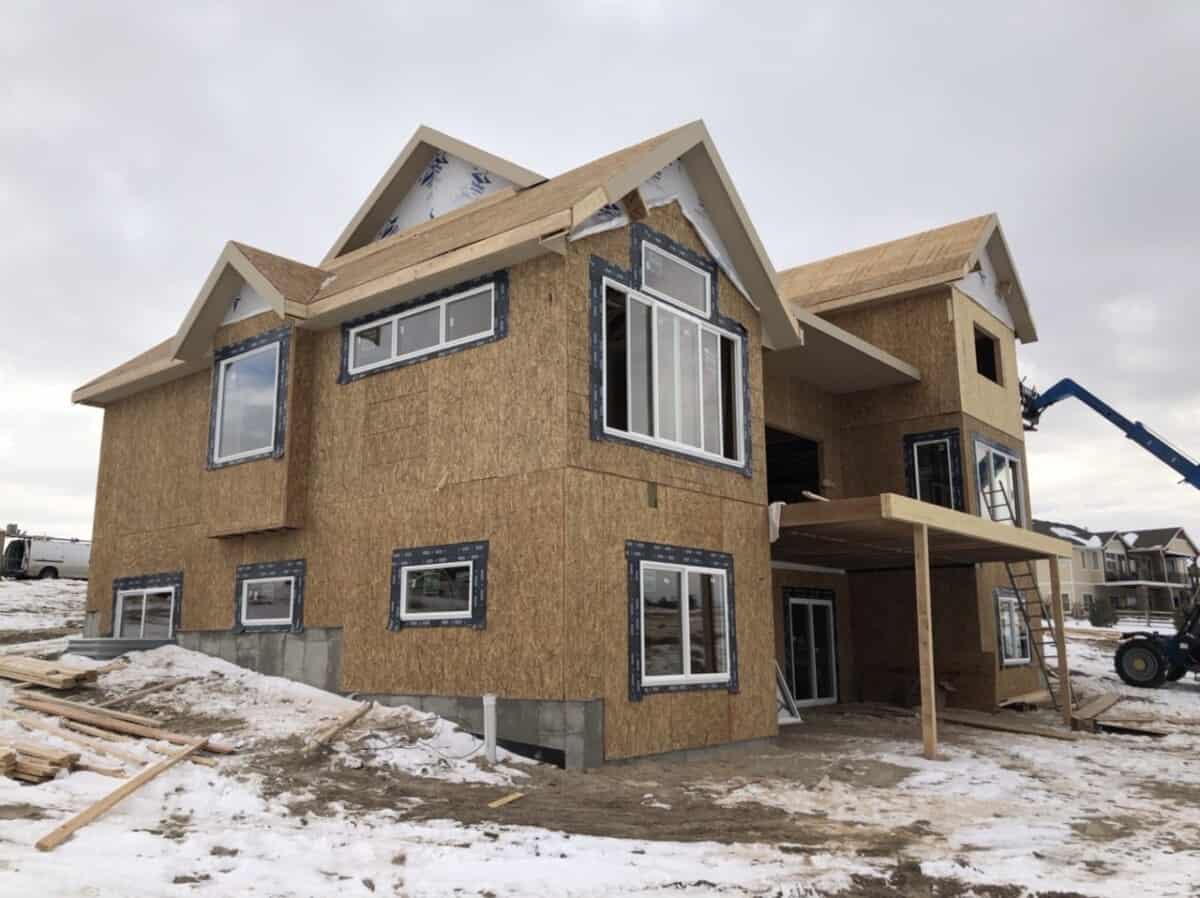
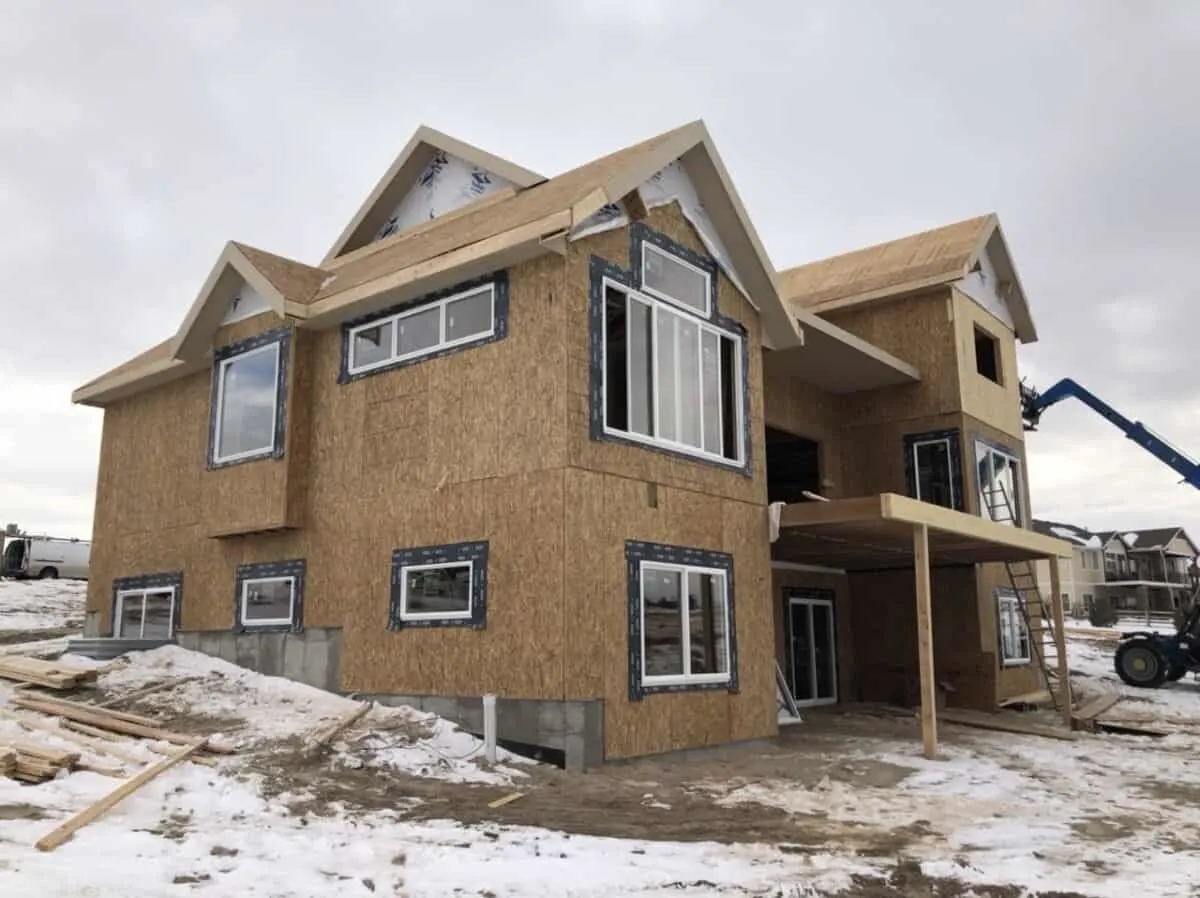
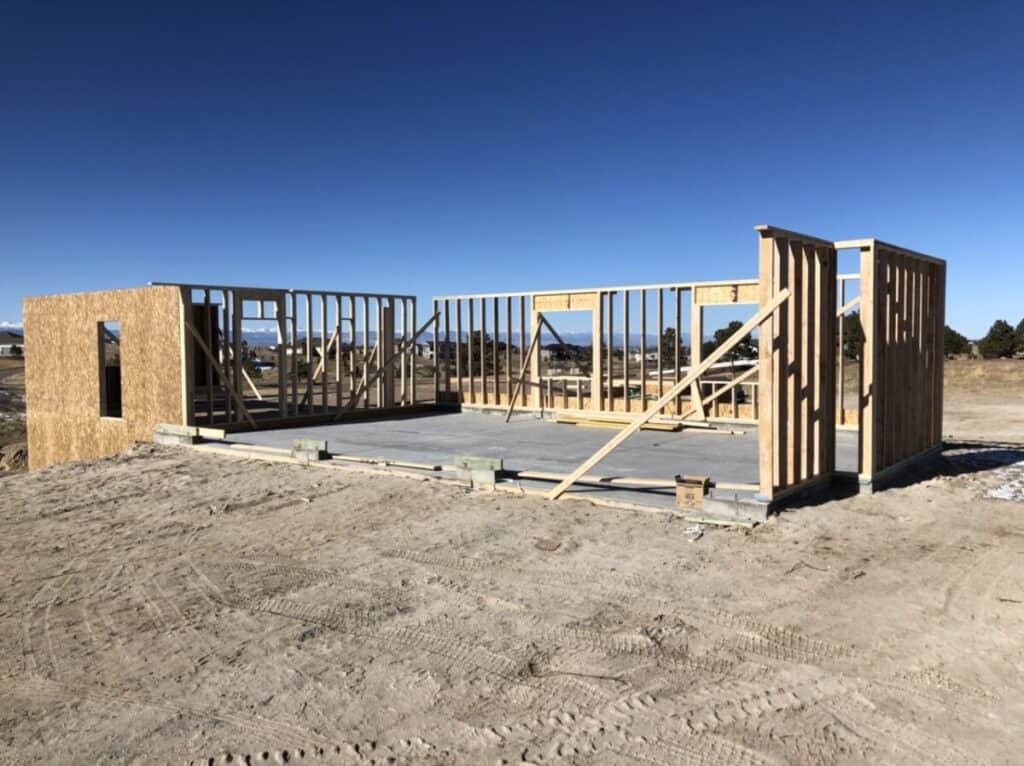
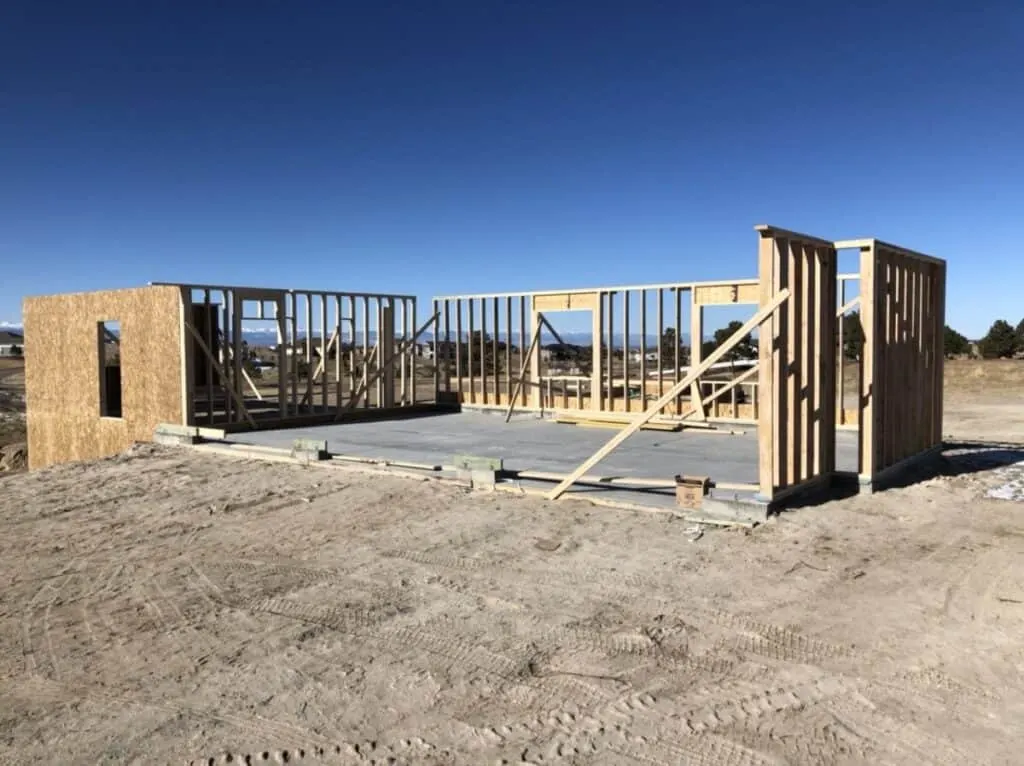
#5: Framing
Yay framing!
Framing is the start of being able to build up! Your house will finally start to take the shape of a home in this step.
Framing can take up to 6 weeks to complete. Maybe longer if your home is large, intricate, or if there are unexpected weather delays.
Lumber and steel will be delivered, walls will be framed, windows and doors will be installed, roof will be installed and the whole house will be enclosed and dried in.
Siding and exterior features like trim and soffits will be installed. Septic tanks or wells may be installed during this phase.
Once you get the majority of the framing complete and covered the mechanical rough-ins can start while framing continues. This is an area where steps can start happening in parallel.
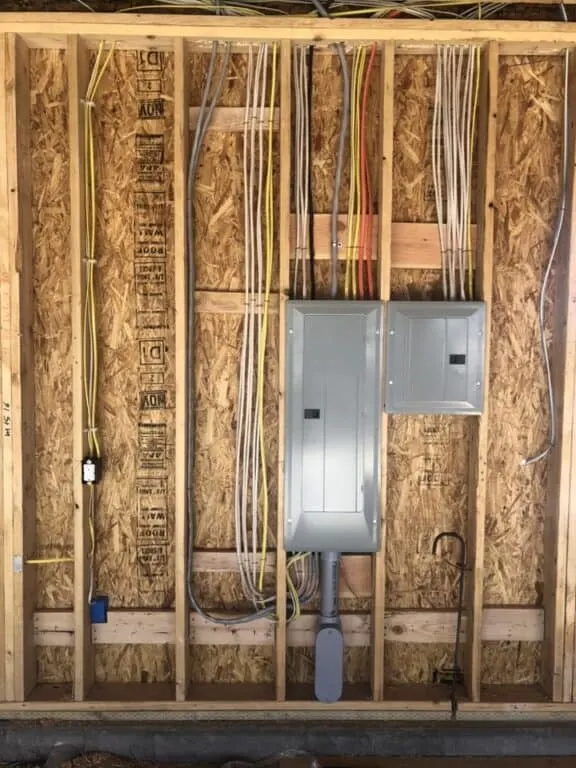
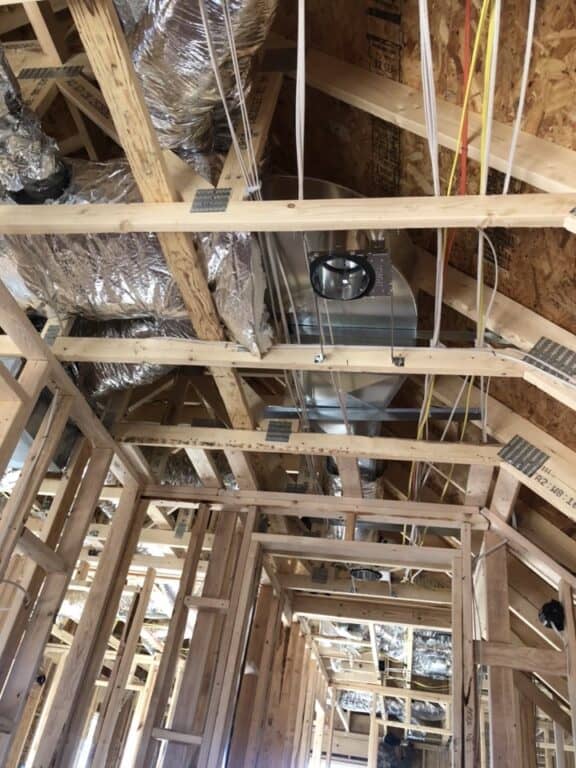
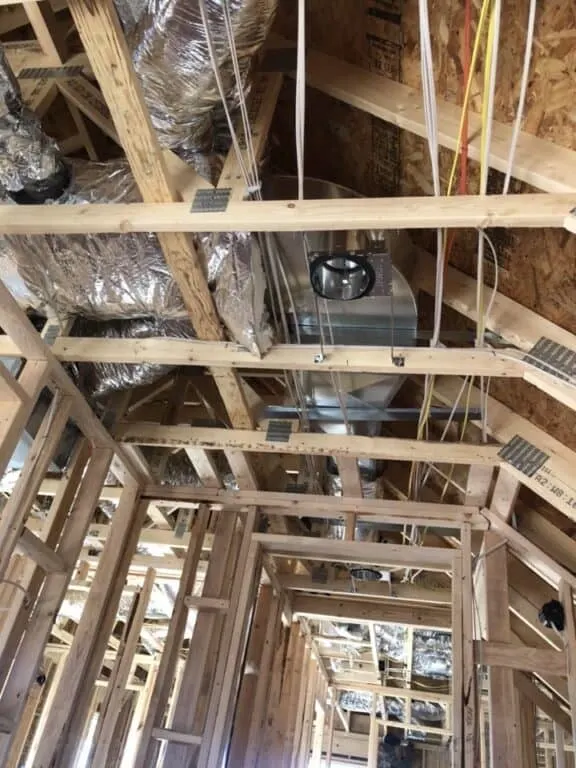
#6: Mechanical Rough-Ins
Rough-ins for mechanicals includes plumbing, electrical, HVAC, gas lines, and fireplace.
Once the framing is in place a plumber is able to come in and install all plumbing lines. You will need to have an idea of where your shower or tub nozzles will be placed.
HVAC will typically occur at the same time or after plumbing.
Next, you should conduct an electrical walk through. This walkthrough will help determine where all outlets, switches, and lights will be placed.
I recommend going room by room and then walking the exterior of the home. Think about the kinds of switches they will use and if you want anything special like a dimmer switch or USB port.
Consider any exterior lights, surveillance requirements, and exterior outlet placing. Do you need an outlet in your soffit for Christmas lights? These are the things you should think about because it is easier to add now then after construction is complete.
Once electrical work is almost complete, do another walk through to confirm your requests are perfect.
In order to move on to insulating the home, you will need to have an inspection. I strongly recommend taking a video walk-through of your home at this point. It can be helpful to have a record of where your electrical and plumbing lines are in case you have a leak or other issue in the future.

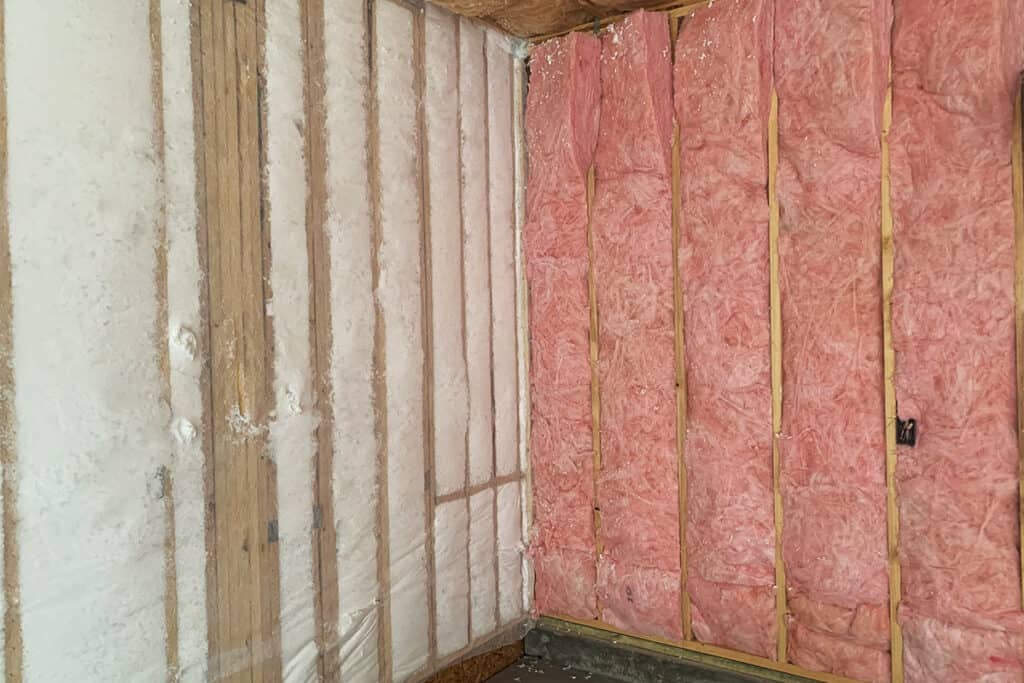
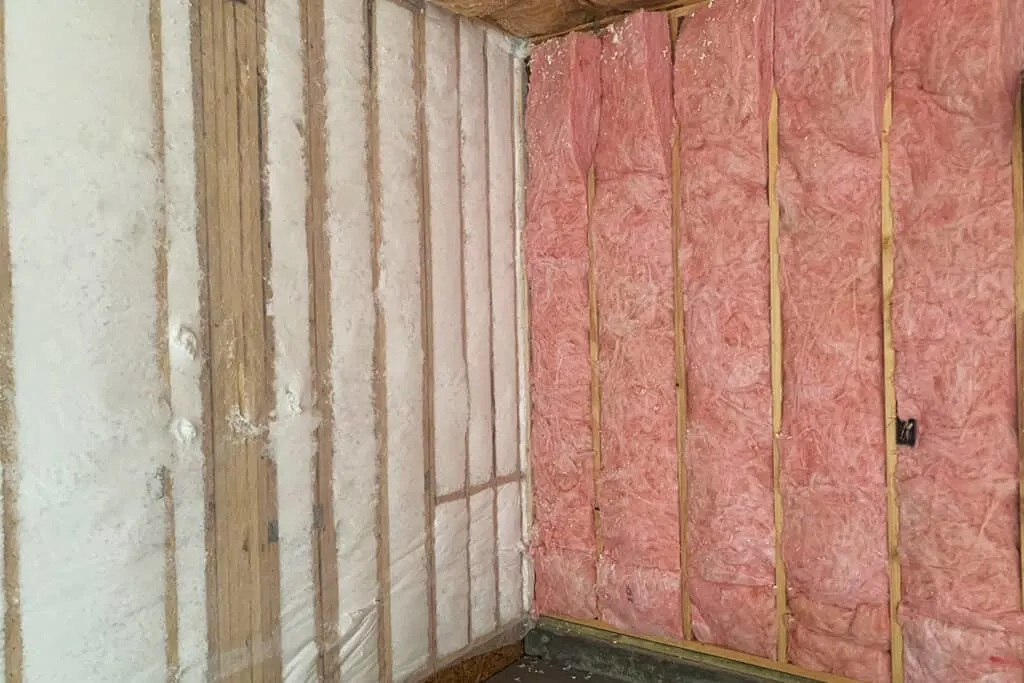
#7: Insulation
After all mechanical inspections are complete you can begin installing insulation. There are a few methods of insulation to choose from. I recommend talking with your contractor to determine which method they will be using and why.
Insulation if typically a quick process and takes a week or two to complete.
After insulation is in place, you can turn the heat on!
We built during the winter so the day we got heat was a great feeling!
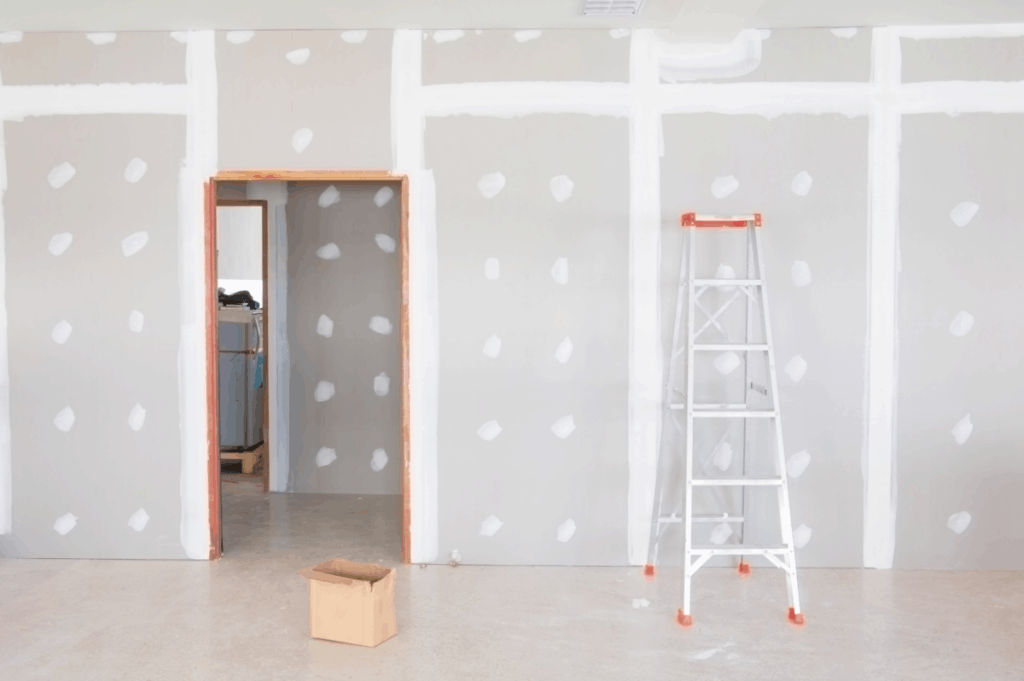
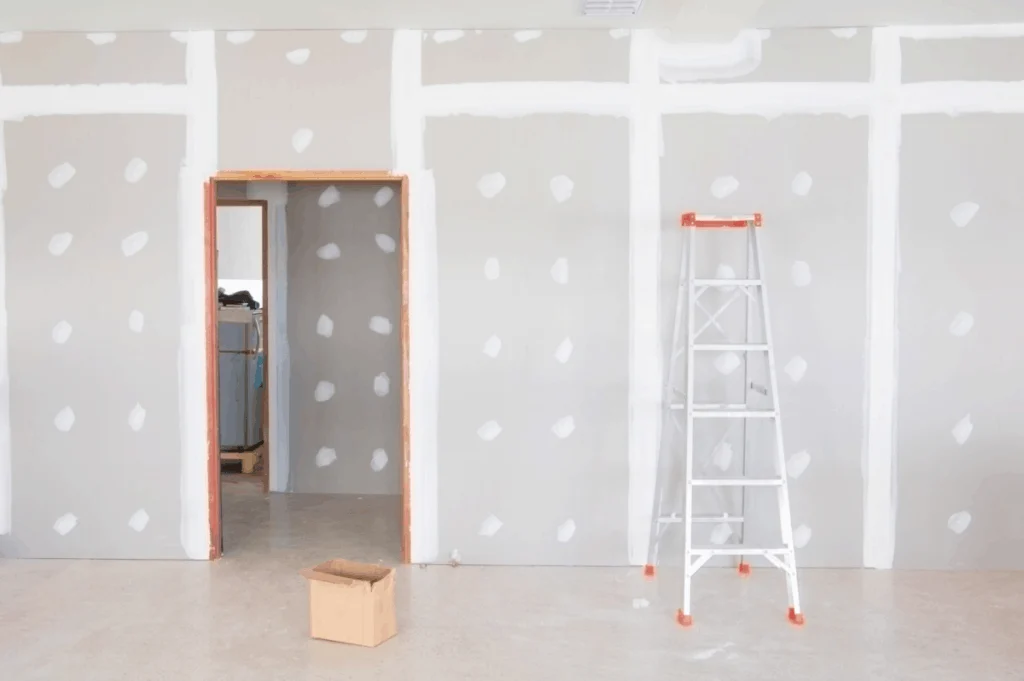
#8: Drywall
This is my favorite step! (besides closing of course)
When you are framing a home, the rooms can appear small because your eye’s can’t easily see the boundaries of each room. When you add drywall, the full shape and size of the room can be felt!
During this phase, drywall will be installed on all walls and ceiling. It will need to be primed, textured, then painted.
Don’t worry if you see issues or marks in the paint at this phase, it will be touched-up later on!
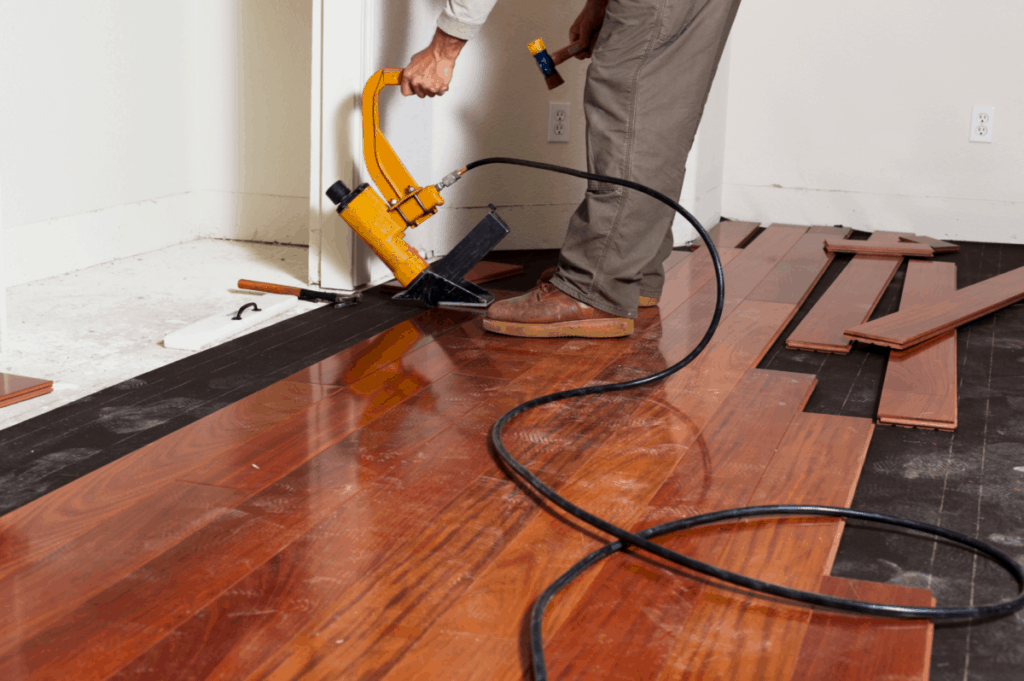
#9: Interior Finishings
This step and the next step (exterior finishings) can occur at the same time.
During this stage any custom wood work like built-in shelving, mudroom cubbies, window trimming, or wainscotting is completed.
Additionally, any masonry and tile is completed. Think fireplace stones, kitchen backsplash, or bathroom tiles. Then the shower doors are installed.
Lastly, any hard surface flooring is installed. Carpet normally gets installed later on.

#10: Exterior Finishings
Exterior finishings is probably exactly what you think it is. The exterior is finished up!
This means gutters and downspouts are installed, metal roofing is installed and the exterior of the home is painted.
If there is any exterior masonry, this is where that will get completed. This includes any brick or stone work.
If not complete yet, any porch railings will be installed.
#11: Touch-ups and Final Installs.
This may sound like a continuation of the interior finishings and it kind of is.
At this point window screens are placed, carpet is installed, any remaining tile work is installed, and a final coat of paint is applied.
Mirrors and light fixtures will be hung.
Appliances will be brought in and hooked up. Your home starts to feel very homey!
#12: CLEANING!
Yes, a whole section for cleaning. You don’t want to move into your new home and have drywall dust or random fingerprints on your new windows!
Your house will go through a deep clean. Windows scrubbed, floors polished, carpet vacuumed. Everything will be spotless.
Your builder may take some professional photos or have a client walkthrough after the cleaning.


#13: Closing!
Once construction wraps and final inspections are completed, you will be granted a certificate of occupancy.
The certificate of occupancy also kicks off the official closing. Your construction loan will transition into your final mortgage. This can look different for everyone depending on how you structured your construction loan.
Congratulations! You now have a brand new custom home!
