
Getting a professional to install your kitchen cabinets is very expensive. Since it is costly, it can even make you go over budget quite easily.
However, there is no way you can remodel or install a new kitchen without the kitchen cabinets. So, we are here to help you with the task.
You don’t need to get custom-made cabinets and a professional to install them.
There is a more rational way to get your kitchen up and running without emptying your bank account.
Get yourself some ready-made cabinets and an extra set of hands to help you put them up. Here’s how to install kitchen cabinets to the wall.
To attach kitchen cabinets to the wall, first make sure you measure the space and cabinets carefully. Then, find the studs in the wall and mark them accordingly. The cabinets are then attached with a drill and cabinet screws to the wall behind them.
This guide will go into more detail on how to attach your kitchen cabinets to the wall safely and on a budget.
Prepare For the Installation
Here’s the thing, installing kitchen cabinets isn’t a joke. The functionality, as well as the beauty of your kitchen, relies on these cabinets.
So, before you start, you need to examine the space and measure it to perfection. Make sure you do it with a partner, so both of you are aware of the dimensions.
If possible, make a checklist of things you will need. This way nothing goes amiss and the whole operation is run smoothly.
Moreover, before you set out to install your cabinets, you need to inspect your walls as well. Make sure there is nothing that needs repairing.
If you have already put in the new floor, you will also need to mask the flooring so that nothing causes any damage to your new floors or wall paint.
Once all these have been taken care of, you can start planning the installation of your kitchen cabinets. Here’s a pro tip: make sure you have disconnected the electricity before drilling. A simple step like this can prevent electrical shocks.
If you are having difficulty measuring your kitchen walls for your new cabinets, simply measure the old cabinets. This will give you the right measurement for your new cabinets.
If you have appliances that go under or inside your cabinets, make sure you keep them into consideration when measuring the space for the new cabinets.
It’s best to measure around your appliance; this will give you the perfect number and save you from any issues later.
Buying the New Kitchen Cabinets
Most shops have experts who can help you get the best cabinets according to your space, sketches, or measurements. However, to avoid any confusion or problems, make sure you have someone experienced with you.


Installing the Cabinets
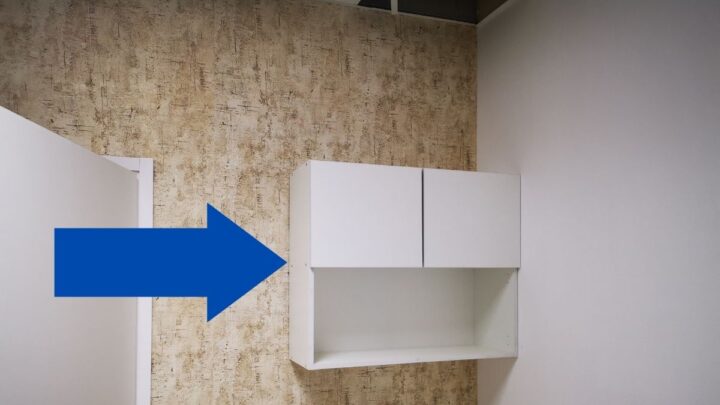
Here’s another pro-tip: when installing the kitchen cabinets, always start with the upper ones first.
If you install the lower ones first, the installation of upper cabinets gets awkward.
It will also slow down the process, as you will be more careful around the newly installed lower cabinets.
There is also the matter of damaging the lower ones while installing the upper ones. So, save yourself from all this hassle and install the upper ones first.
To start the installation process, assemble your cabinets and remove the doors. You can attach the doors later. To set your cabinets on average countertop high, measure 36 inches from the floor.
Now add another 18 inches to this and mark the line to set the bottom of your upper cabinets, with the help of a stud finder and a level mark, all studs.
Marking the studs from top to bottom helps you use them as references.
There are two ways you can hang your cabinets:
- French cleats
- Cabinet screws
The French cleats are easier, as you only have to hang your cabinets on them.
However, they are ideal only when you are going to leave a certain space between the cabinet top and the ceiling.
However, for a DIY project, we suggest cabinet screws. To hang your cabinets with cabinet screws, you will need to drill through the back of your cabinets.
While drilling the screws through the cabinets in the wall studs, use as many as you can.
This will ensure that your cabinets don’t buckle or fall when you fill them with heavy kitchenware.
Let’s move to the lower ones once your upper cabinets are fastened tight on the walls.
Installing the Lower Cabinets
Repeat the same procedure. Remove all doors and assemble the cabinets. Fortunately, the lower cabinets are easier to install than the upper ones.
To install the lower cabinets seamlessly, first, do a mock-up. This will ensure that everything fits perfectly.
Fit everything apart from the sink cabinet. For the sink, you will need to measure according to your plumbing and cut the back to fit the pipes and other fixtures.
Once you are good to go on the mock-up, start fixing the cabinets with trigger clamps and screw them in place.
Final Words for Attaching Kitchen Cabinets to the Wall
Before attaching your cabinets to the walls, make sure you use level and shims to adjust wherever you can.
This will ensure that you aren’t making any mistakes that might look unsightly after.
Once your cabinets are installed and in place, you can move towards installing the countertops and your appliances.
Installing cabinets yourself isn’t hard if you know what you are doing and if you have a helping hand with you.
