
Reupholstering your existing bar stools is an easy and quick way to breathe new life into your room. Grab your stools that need a facelift and let’s get creative!
Before you begin
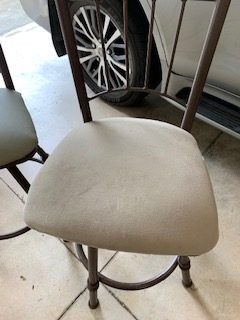
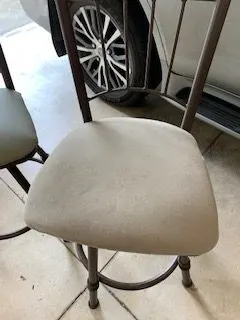
Before you begin, take some time to really examine the stools you are wishing to reupholster. Pay attention to how the seat is connected to the base of your chair.
Take a photo of all angles of the chair before you take anything apart. Inevitably there will come a time when you forget how things fit together, or question, “Does this look right?”
Save yourself the time and document the before state! You will never regret spending 30 extra seconds on this step.
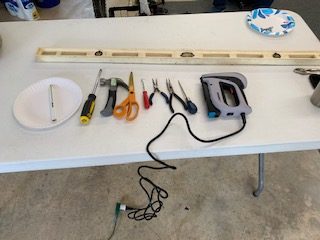
Supply List

Bar Stools: Old or New. For this project we are using 4 stools.
Measuring Stick: For cutting fabric to size.
1.5 yard – Batting: It is possible to reuse the existing batting however it is often necessary to replace. If you rub your hand over the old batting does it shred or come apart? Is the old batting stained or molded? If You answered Yes to any of these questions: It’s time to replace!
1.5 yard – Soft Vinyl (4 – 23 x 23 inch pieces): You can choose any fabric you would like. Just make sure its a durable fabric or you may be reupholstering again sooner than you would like. Vinyl, Suede, Duck Fabric, or Canvas are great choices.
Electric staple Gun: You can use a manual staple gun however getting an electric stable gun will save you some energy!
Staples: Don’t make the mistake of getting a staple gun but forgetting the staples! (This has happened to me more times than I would like to admit)
Extension Cord: For the electric staple gun
Needle Nose Pliers: To pull out the original staples
Pick: To help pull out the original staples.
Phillips Screwdriver: To help remove the seat base from the stool frame.
Small Hammer: In case you need to flatten any staples.
4 Ziplock Bag: To hold the screws or any hardware that you take off of the original stool. I like to keep the hardware separate for each stool, hense the 4 bags.
Scissors: Used for cutting fabric and trimming excess fabric at the end.
1 extra person: Bribe a friend or significant other to assist you. It will be extremely helpful to have someone hold the fabric tight while the other person staples.
Step 1: Remove the seat from the stool

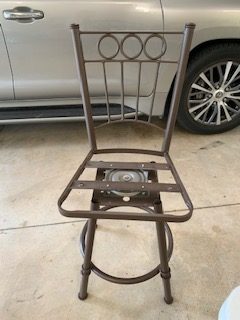
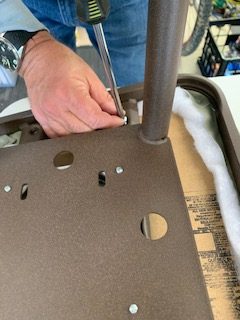
Examine your stool and determine the best way to remove the bottom seat area from the chair.
In most stools, you can just remove the seat base, however certain stools may require you to remove the back before you can remove the seat.
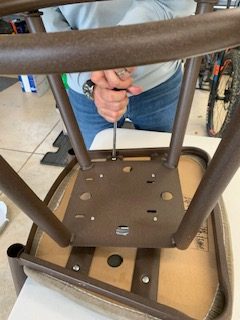
In my example, all I had to do was use my phillips screwdriver to remove a few nuts and screws and the seat was off.
Place all hardware in a plastic baggy so you don’t lose anything.
Step 2: Remove the original fabric and/or batting
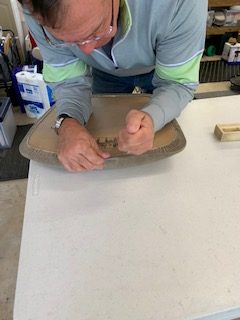

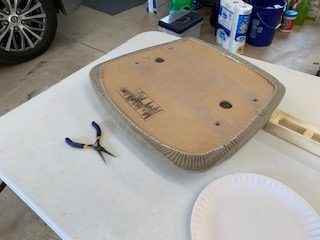

Now that you have the seat removed from the stool frame, it’s time to remove the old fabric. To do this, use your pick and pliers to remove all existing staples.
Try not to just cut the fabric and leave the staples. Why? You will want to use the existing fabric as a template for how to cut the new fabric. Additionally, you won’t want to try to staple over an existing staple. It could cause extra work.
This step will be the most repetitive and time consuming.
Step 3: Cut new fabric and batting
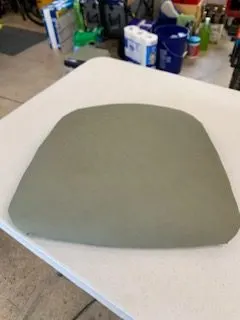
Using the original fabric that you just removed as a template, cut new fabric to the same size and shape.
If you need new batting, do the same thing to cut new batting. For an extra cushion, you can use more than one layer of batting.
The easiest way to do this is to lay your new fabric out flat, right side down. Lay the old fabric on top and trace it with chalk or pencil. Then cut the new fabric. Add an extra inch or two in your fabric for an added allowance.
Make sure to cut all pieces at the same time so you can be sure you have enough fabric.
Warning: Do not cut the new fabric without laying out a pattern for all seat bases. You want to ensure you have enough fabric for all seat coverings.
A big mistake people make is cutting the new fabric from the middle of the swatch and leaving lots of extra fabric on the sides that cannot be used for other chairs.
Step 4: Attach new fabric and/or batting to seat base
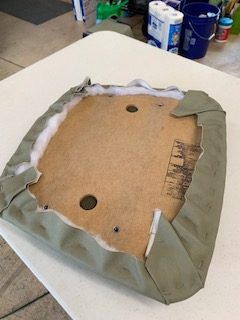
Using your friend as an extra set of hands, layer the batting and fabric on the seat cover and pull tight! You don’t want any wrinkles left on the seat top.
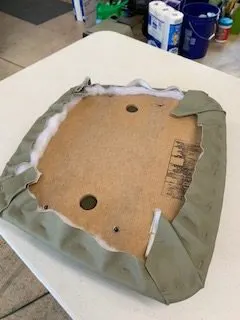
Place the first staple in the middle of one side. Do not start on a corner. I prefer starting on the back edge. Then place one staple on the middle of the other edges. Work your way around the seat base until you only have the corners left.
Once you approach the corners you will need to fold over the fabric edges so that it lays flat on the top. Play with how to fold the fabric before you start stapling. Make sure you do the same steps for each corner on each stool.
If your stool is round…
You will need to attach the fabric by working in a circular pattern. If you can recall how the original fabric was folded when it was stapled, I would try to use this same pattern.
This is an example of when having an original before photo is extremely helpful!
Step 5: Trim excess fabric
Now that you have all the seat bases covered, you will want to trim the excess fabric and batting from the bottom of the stool.
Cut the fabric close to the staples but keep a little extra just in case anything shifts.
I recommend cutting about a half inch from the staples.
Step 6: Re-attach the seat base to the stool frame.

Ah the final step!
Grab your bag of hardware and re-attach the seat base to the stool frame.
Repeat for all stools.
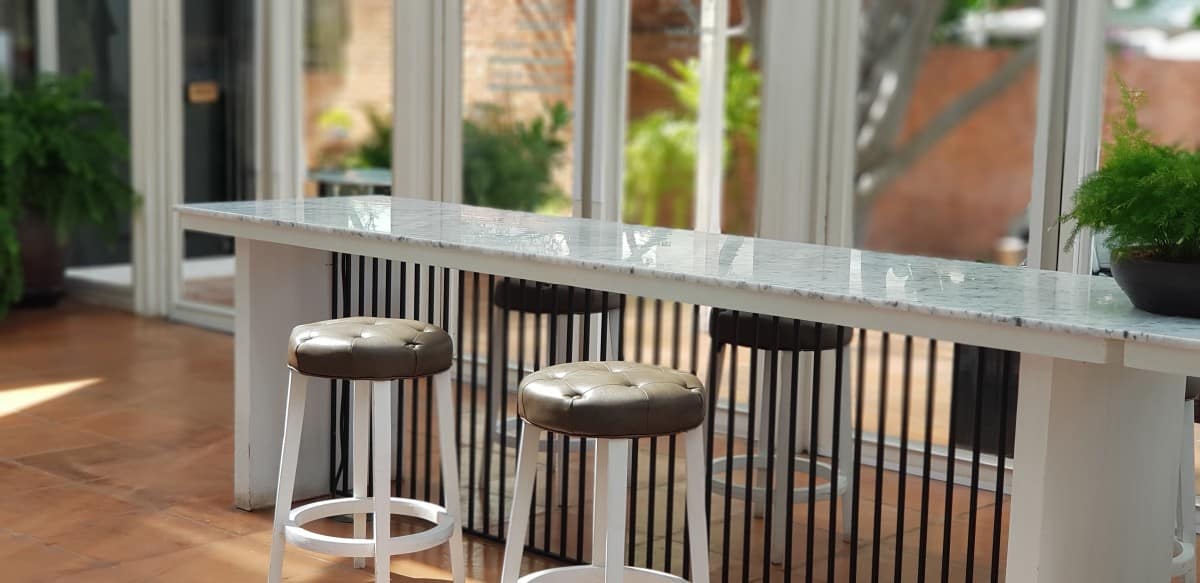
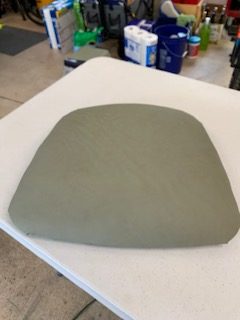
Take a step back and admire your hard work!
You did it! That wasn’t too bad now was it?

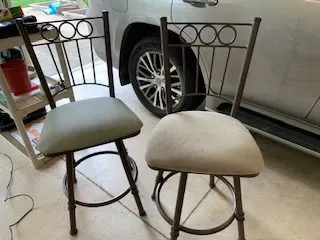
After (Green) compared to Before (Tan) 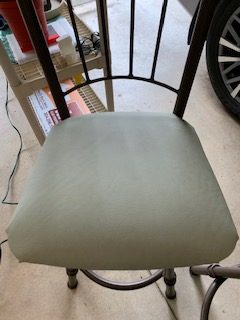

Related Articles
If you found this article helpful, then make sure to also take a look at some of these related posts before you go!
